Basic Stair Input
To get a feel for the Stair Tool, start placing Stairs in the plan using the default settings, or one of the Stair Favorites.
Input is available on the Floor Plan and in the 3D window, using methods similar to polyline or Wall input. During the polyline path input, instant graphical feedback shows what the resulting Stair will look like.
The Stair is input along a Baseline. Note some of the key input preferences in the Info Box:

Stair Baseline Position: Left, Right Center

Input Stair Upward/Downward

Add Railing to Stair (Right, Left, Both sides)
Example 1: Entrance Stair
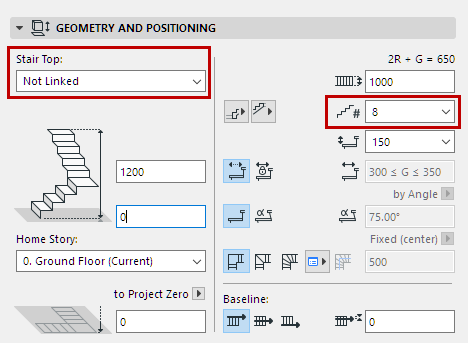
1.Open the Stair Settings dialog box, and review the Geometry and Positioning Settings.
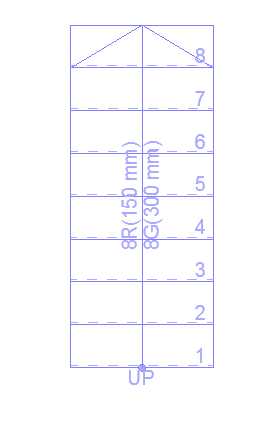
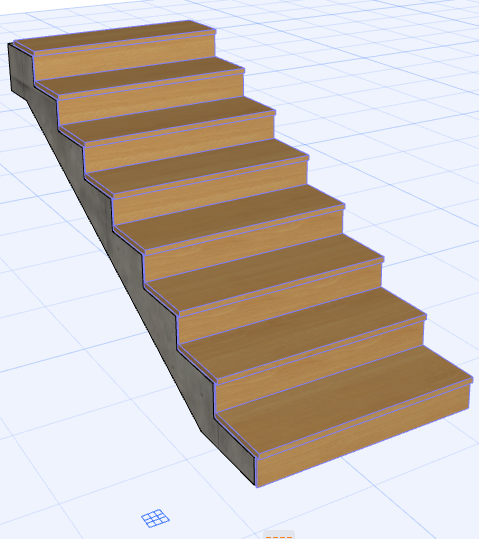
This Stair is not toplinked, and it has a fixed number of 8 risers. It will be a straight stair with no turning, so the turning type is not relevant.

In the Floor Plan or 3D window:
1.Click to begin inputting the Stair.
2.Note the feedback: Since the number of risers is fixed, the length of the Stair is shown as a ghost outline during input.
3.Double-click to complete the Stair.


Example 2: Top-Linked Staircase
Here, we create an interior Staircase up to the next floor.
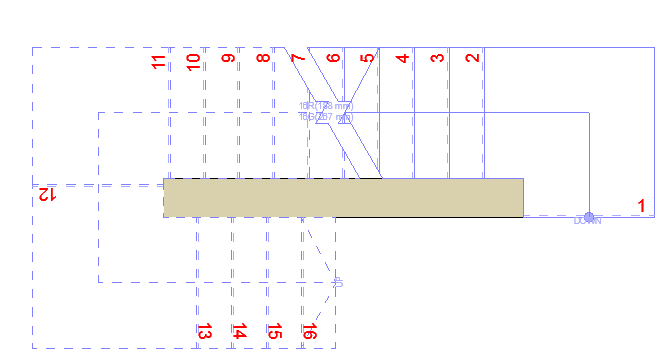
Set up the Stair Settings as shown. This Stair’s top is linked to the story above, and it has a fixed number of 18 risers. This Stair will have Landings, and the Landing type is set to Automatic Landing.

In the Floor Plan or 3D window:
1.Click to begin inputting the Stair along the Walls, as when drawing a polyline.
2.Click at each of the two Wall corners, then double-click to complete the Stair. The ghost feedback shows you that 18 risers will be placed in any case, according to the predefined settings.


The Stair is complete. The Turning type you defined (Landing) was placed at both turnings (points on the input baseline) automatically.


Turnings and Segments
Stairs consist of Turnings and Segments.
•Set Turning Type for the Stair as a whole in Stair Settings. (Choose Automatic Landing or one of two Winders.)
See Stair Turning Type.
•Segment Type is always “Flight” by default. You can change the segment type on the fly, for each segment, during input.
See Stair Segment Type.
•You can customize Turning Type options - for any particular segment or any particular Turning - after Stair input.
See Edit a Stair’s Turning Type.
Create Stair with Magic Wand
Use the Magic Wand method (Spacebar + click) to automatically generate a Stair along the clicked edge or polygon.
•Click at the point where you want the Stair to begin.
•The clicked point will be the bottom of the Stair (even if the input method is Downward).
•The Stair Baseline is placed along the traced polygon/polyline.
Change the Baseline if needed in the Info Box or in Stair Settings (Left, Right or Middle of Stair). This allows you to vary the Stair placement (inside or outside of the clicked polygon/polyline).


•To create a Stair around a free-standing Wall: click into the Wall.

