On the Floor Plan or 3D Window:
1.Select the Roof Tool.

2.In Roof Settings or the Info Box, adjust the main roof parameters (e.g. pitch, surfaces, eaves overhang).
3.Choose the Multi-plane method from the Info Box or from Roof Settings.
4.Choose one of the construction Methods from the Info Box:
•Complex
•Hip
•Gable
•Rotated Hip
•Rotated Gable

5.Start drawing the pivot polygon of the Multi-plane roof - usually, along the outline of your building structure.
6.Close the polygon to complete the Multi-plane roof.

7.Alternatively, use the Magic Wand (space+click) on an existing Wall to instantly place the pivot polygon and the resulting Multi-plane roof.

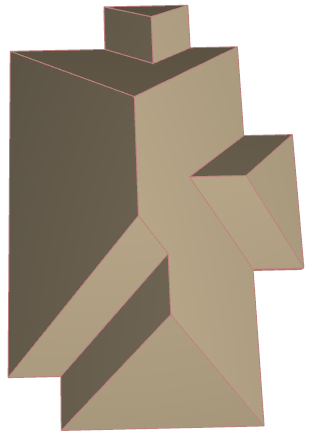
The result is a single roof element, consisting of multiple planes. You can further edit the roof plane by plane (for example, assign a custom surface or pitch to any plane), but the roof always remains a single element.
See Customize Roof Plane.
Even after the roof is created, you can easily change the roof geometry by graphically editing the pivot polygon or the roof ridge.
See Graphical Editing of Roof Geometry.
You can divide a Multi-plane Roof structure into multiple horizontal levels or segments, e.g. to make a mansard Roof.
See Add Roof Level.