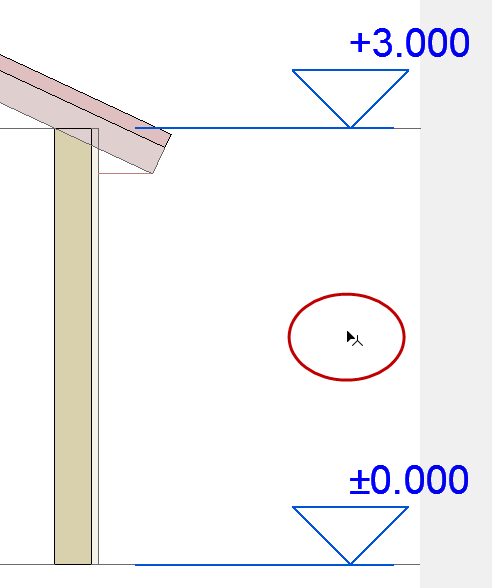
A special case of the linear Dimension tool is the Elevation Dimensioning construction method. Elevation Dimensions allow you to place height markers in Section/Elevation/IE and 3D Document windows.
Note: On the Floor Plan or Worksheet/Detail windows, use Level Dimensions. See Level Dimensions.
Elevation Dimensioning is calculated based on the Dimension Origin, which you can set as needed in Elevation Dimension Settings.

A series of Elevation Dimensions behaves as an associative dimension chain.
Place Elevation Dimension Chain
1.Activate the Dimension tool, with the Elevation Dimension construction method.

2.In the Section/Elevation/IE or 3D Document window: click the series of points where you need Elevation Dimensions.
3.Double-click (or click OK in the Control Box) and use the Hammer cursor to place the chain.
In Section/Elevation/IE windows, you can dimension all Story Level Lines in one step.
See Dimension Story Level Lines.
Select Elevation Dimensions
Shift-click on the invisible axis of the chain (where the cursor changes to Mercedes with Arrow).
Most of the settings in this dialog box are identical to those at: Dimension Tool Settings
The following describes the controls which are unique to Elevation Dimension Settings.
Marker Type: Click the pop-up to choose a Marker/Dimension text arrangement for the Elevation Dimension.

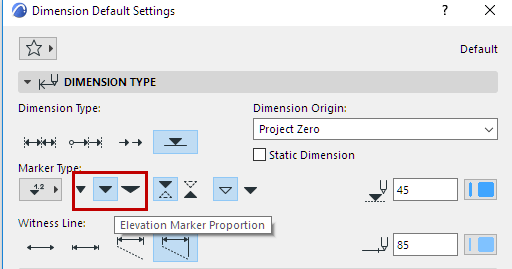
Click one of these icons to choose proportions for the Elevation Dimension Marker.
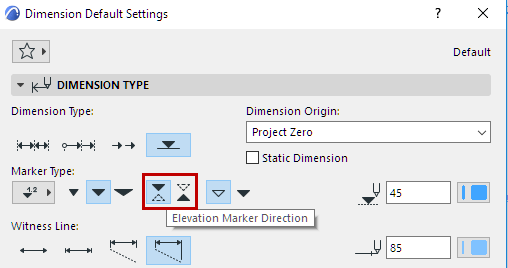
Click one of these icons to choose a direction for the Elevation Dimension Marker.
Click one of these buttons to choose outline or solid Marker.
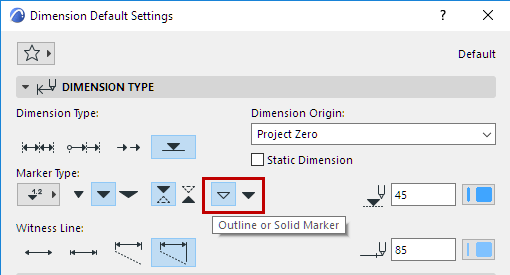
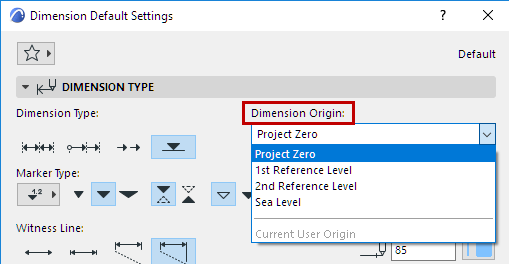
Choose a Dimension Origin from the pop-up list:
•Project Zero
•Sea Level (defined at Options > Project Preferences > Reference Levels)
•A Reference Level (defined at Options > Project Preferences > Reference Levels)
•Current User Origin: this option only appears for selected Elevation Dimension chains and indicates that the User Origin has been changed since the dimension chain was placed and the dimension chain has not been updated.