When placing a new Wall, Column, Beam or Object-type element (including a Level Dimension), you can use the Gravity function to automatically place the new element directly on top of a Slab, Roof, Shell or Mesh on the same story, thus taking on the elevation of the element it is placed on.
Gravity is useful if you are placing elements on the Floor Plan. (In the 3D window, the Surface Snap feature achieves this same effect. See Surface Snap in 3D.)
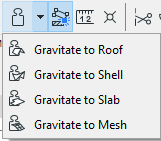
To choose an option, use the Gravity controls in the Standard toolbar or the icons of the Coordinates palette.

Note: Gravity only affects newly created elements and cannot be used for editing existing ones.
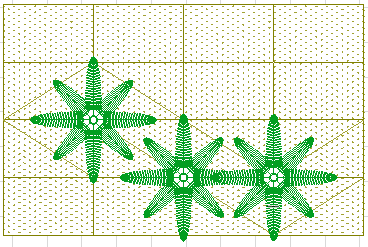
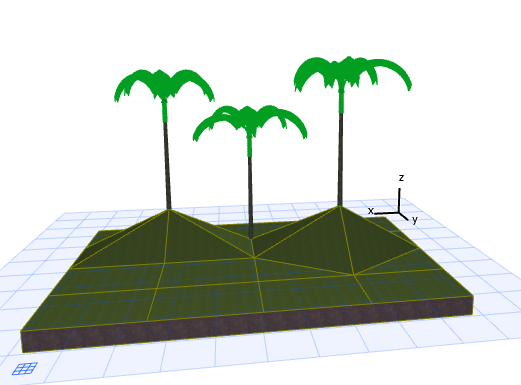
For example, to place trees on top of a Mesh, activate the Object tool, choose the tree, then select “Gravitate to Mesh” from the Gravity pop-up in the Standard toolbar. When you then place the trees, they will gravitate to the elevation of the Mesh at the point of placement.


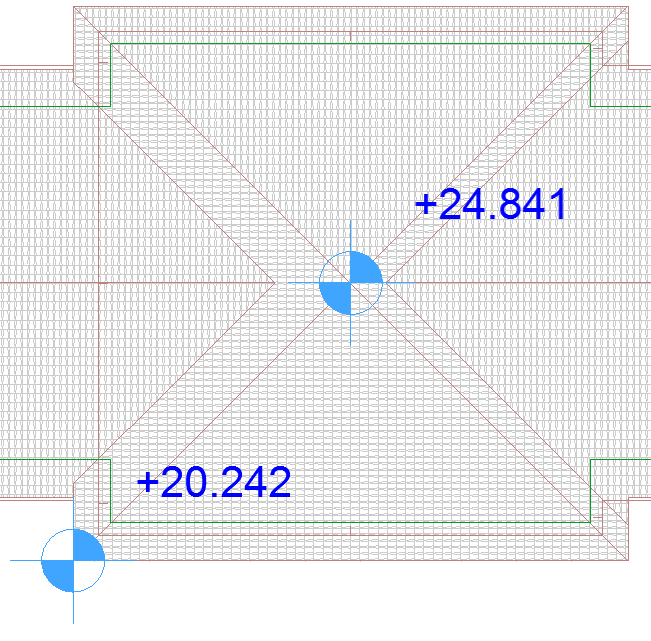
Level Dimensions placed with Gravity On, above Slabs, Roofs, Shells or Meshes, are associated to them.

If the Gravity function is on (activate Gravity icon) while you are placing a new element, but there is no underlying Slab, Roof, Shell or Mesh, then the new element will be placed as usual, at the elevation defined in its Tool Settings.