Model Compare: Review the Changes
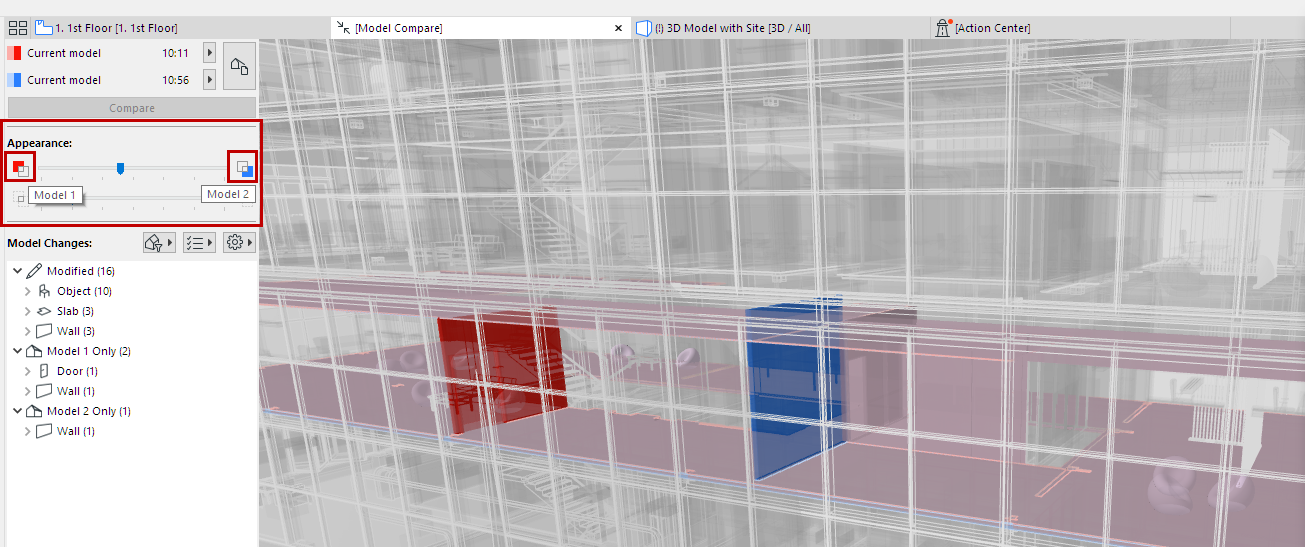
After the Compare command is run, the Model Compare window displays the model with colored highlights and other feedback on changes.
The Model Compare palette is docked at the left edge of this window (this palette cannot be moved).
Note: By default, the Model Compare palette lists all 3D model changes resulting from the Compare process. To filter the list of displayed changes, see Filter Changes Shown in Model Compare Palette.
Selection in Model Compare Window
The “Model 1 only” and “Model 2 only” elements are shown in their respective colors.
In this example:
•The red wall is “Model 1 only”, because it was deleted.
•The blue wall is “Model 2 only”, because it is a new element.
•The slabs and chair objects are shown in a blended (purple) color, to indicate that they have been modified, while remaining in their original position.
Note: Set Model Compare colors at Options > Work Environment > On-Screen View Options.
See Workspace Colors for Model Compare.
In the Appearance section of the Model Compare palette:
•Use the top slider to graphically emphasize Model 1 or Model 2. (Here, the slider is in the middle, showing both versions equally.)

•Use the bottom slider to set the relative visibility of the unchanged model (the set of unaffected or unchecked elements).
Here, the bottom slider is set to hide the unchanged model completely, so all you see are the changes:

By default, the Model Changes list shows all changed elements, grouped by Status: Modified, Model 1 Only, and Model 2 Only.
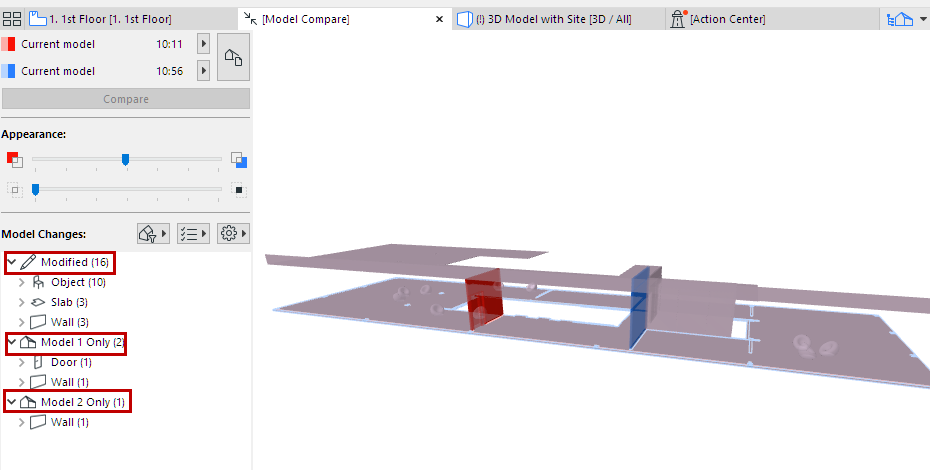
To customize this list, use the filter and settings buttons.
See also Filter Changes Shown in Model Compare Palette.
Selection in Model Compare Window
Select any item from the Model Changes list to select the corresponding element in the Model Compare window.
Here, a modified Slab is selected:
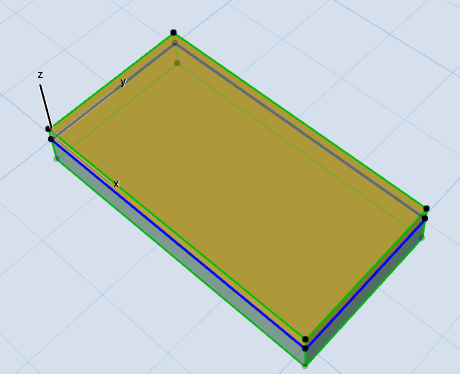
The same works the other way around: you can select any changed element in the Model Compare window: it is then selected in the Model Changes list, too.
Note: In the Model Compare window, you can only select elements that are also listed in the Model Changes list. Unchanged elements, even if displayed in the window, cannot be selected here (see cursor feedback).

Select Elements By Group
Select a parent item in the list tree to select all its member elements in the Model Compare window.
Show Changed Element in Model
For a selected item in the Model Changes list: use the context menu commands to Show on Floor Plan or Show in 3D.
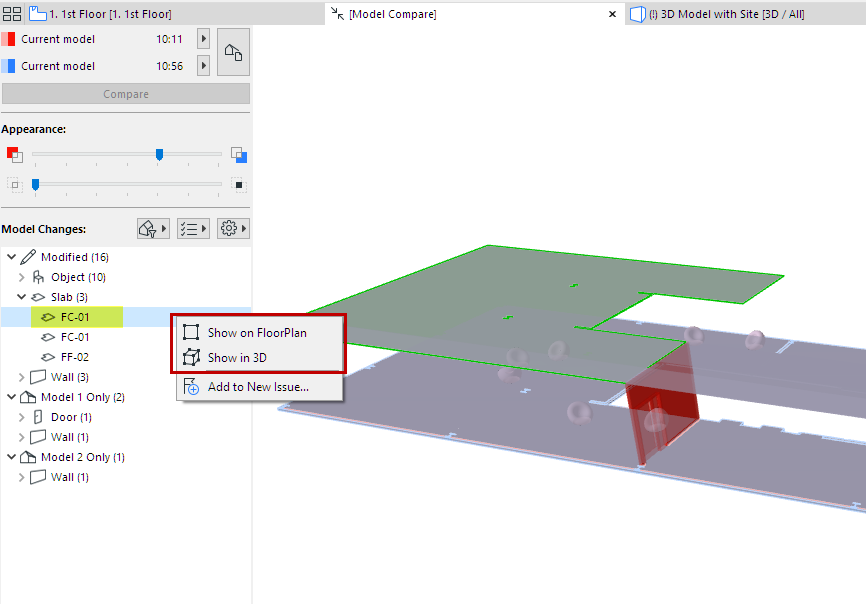
Context Menu Commands
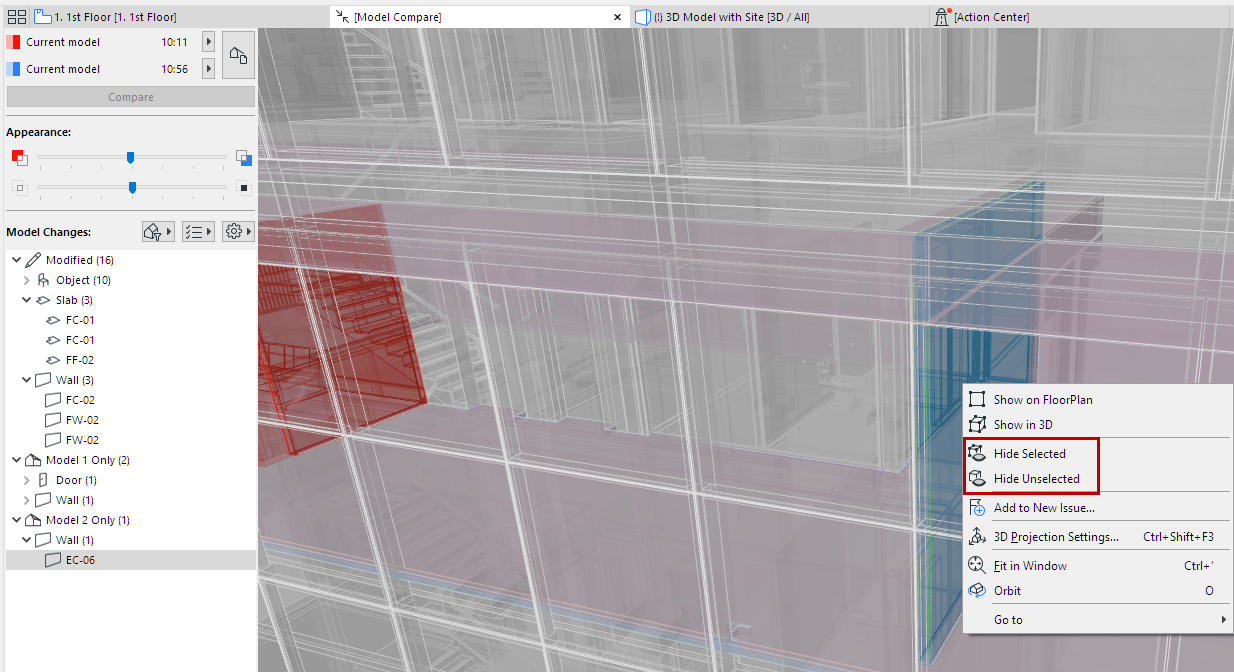
For a selected item in the Model Compare window:
•Use Hide Selected or Hide Unselected to get a better view of the changed element and/or its environment.
•Reverse this command with Unhide All, available in the same context menu.
For the last-selected element in the Model Changes list:
The “Selected Element Changes” icons indicate which parameters have changed. (This is relevant for “Modified” elements in the list.)
Here, a modified object is selected in the list, and in the model.
Below the list, the “Model” icon is active: this indicates that the one or more Model parameters of this chair were modified.
![]()
These parameter sets are the same as in the “Checklist” used to filter the change list in the Model Compare window.
See also Filter by Parameter Sets.