Create BIMx Hyper-Model from Publisher
You may need to optimize the Archicad model before saving it in BIMx format to ensure the best possible performance.
See BIMx: Notes on Model Data, 3D Model Settings, and Textures.
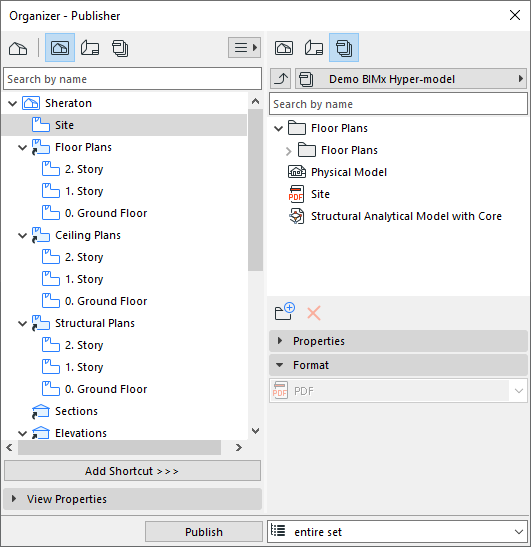
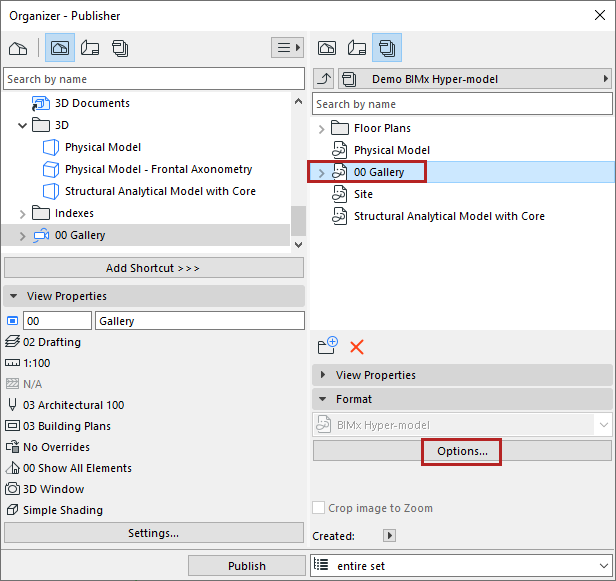
Use the Organizer mode of the Publisher to create the desired Publisher Set: assemble the combination of views (including camera path), Layouts or subsets, and the 3D view(s) you wish to include in the Hyper-model.
See also Publisher.
You can optimize 3D view content to fit your particular publishing needs - for example, using Partial Structure Display, Layer Combinations or Marquee to limit the view(s) as needed.
Step 2: Set Publishing Properties
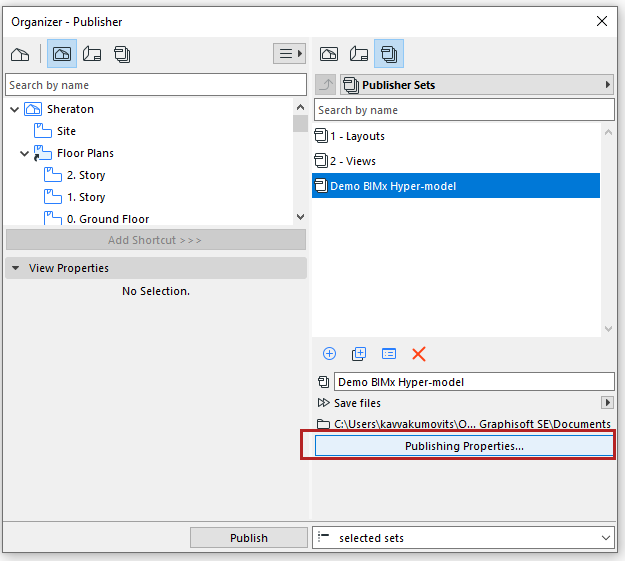
Open the Publishing Properties dialog box.
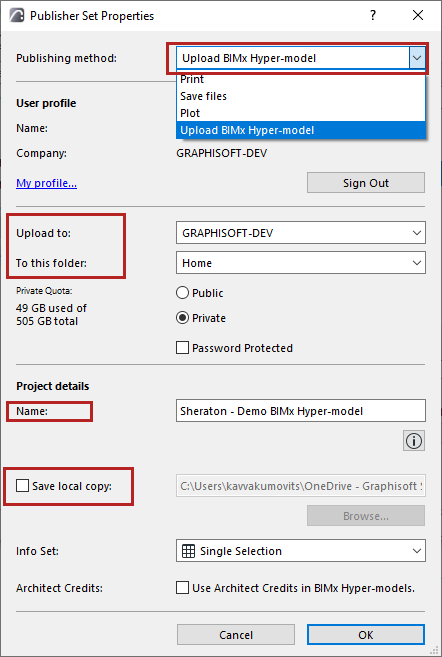
Choose how you would like to publish the Hyper-model: either Upload or Save.
Choose this publishing method to upload the file to the BIMx Model Transfer Site at bimx.graphisoft.com.
•Click Sign in and enter your Graphisoft ID (GSID), if you are not signed in already.
If you don’t have a GSID, click Sign up from the appearing dialog.
•Upload to: Choose company’s or your own storage location.
•To this folder: Choose whether to upload to a Public or a Private Folder. If you choose Private Folder, you can optionally password-protect the file. Available storage space is shown at left.
Note: The Private Folder option is available only in your company storage location, to users who have a Software Service Agreement (SSA) for Archicad.
• Name: Optionally rename the Hyper-model file.
•Save local copy: Check this box and enter a destination file path if you wish to save a local copy of the Hyper-model in addition to uploading it to the BIMx Model Transfer site.
See also Step 3: Info Set and Step 4: Use Architect Credits (below) for information on these options.
Save BIMx Hyper-model
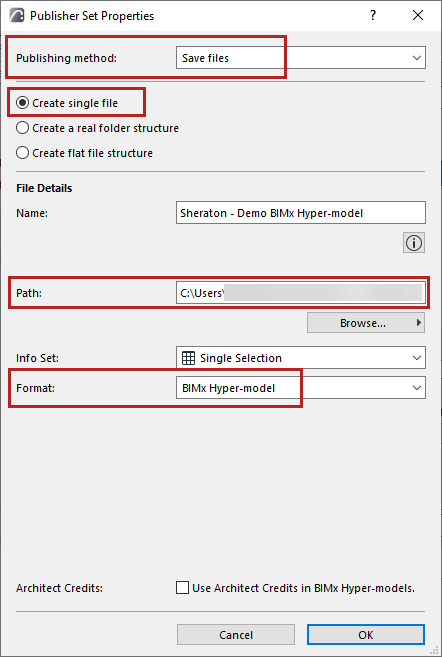
•Choose Save files publishing method
•Choose Create single file
•Path: Enter destination
•Choose BIMx Hyper-model format
Use the Info Set pop-up to control which model element information should be available to viewers of the BIMx model on a mobile device:
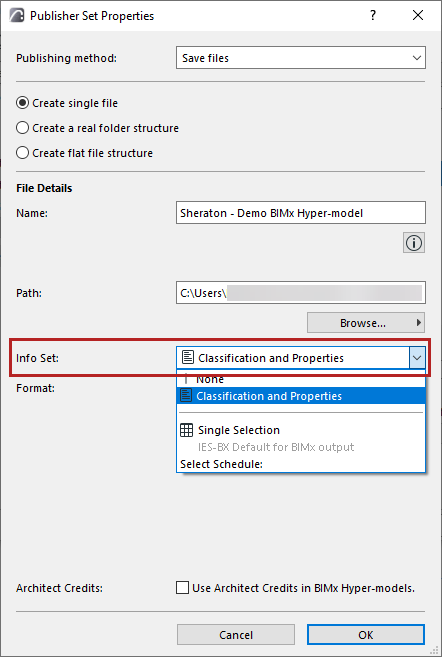
•The Classification and Properties option uses the data defined for each element in the Classification and Properties panel of its Element Settings dialog box.
•Choose None if you don’t want the recipient to view any element information (e.g., if the recipient will just be viewing the model geometry as a whole, and doesn’t need any details on the various component elements).
•Select Schedule: Click this to open a pop-up where you can choose one or more of your Element Schedule Schemes. The BIMx model will use the data defined in the selected schedule(s).
Since you can choose one or more Schedules here, you may find it useful to divide the exported custom data into several Schedules (for example, by element type). This speeds up the update and publishing process, and makes it easier to manage data.
• IES Default for BIMx output option uses the data defined in an Interactive Element Schedule of this name. This schedule is provided in the factory-default Archicad template (for the International market), but you are free to modify the scheme as needed, or to choose any other schedule(s).

Check this box to display information about the project’s designer when the Hyper-model is opened in a BIMx application.
You must first define this information in Archicad at File > Info > Project Preview > Architect Credits in BIMx.
See Architect Credits in BIMx.
Step 5: Set BIMx Export Options
In the Publisher set: select a Camera path (if any) or the 3D view, then click Options.
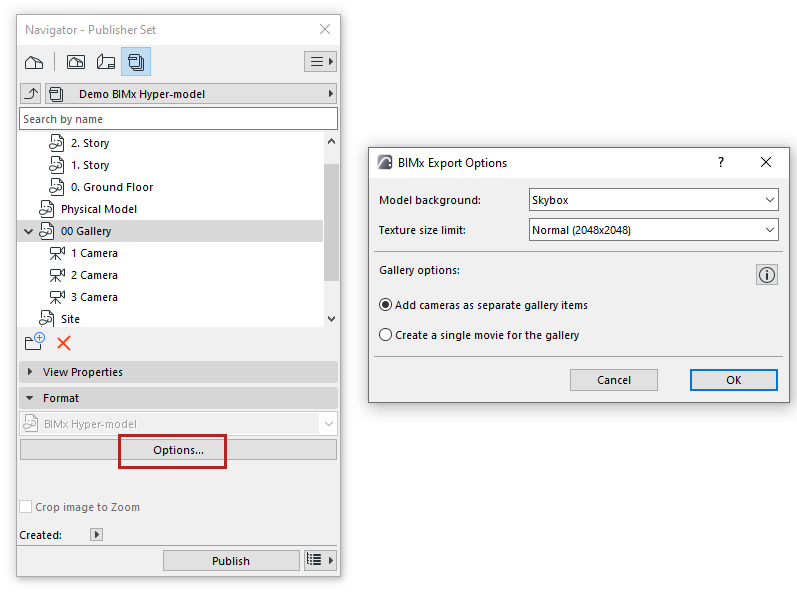
Model background
Choose a background to use while exploring the BIMx model.
“Skybox” is the default BIMx Sky image.
Texture size limit
3D model textures can provide attractive visual effects, but also affect model size and export speed.
Reset the “Normal” default limit depending on your needs:
•lower limit can speed up export time and limit model size
•higher limit can result in enhanced visual details (but larger file size).
Gallery options for camera path
If you selected a camera path from your Publisher set: set Gallery options.

•Add cameras as separate gallery items: A separate gallery item (an image viewpoint) will be created out of each camera in the current Archicad camera path
•Create a single movie for the gallery: A single movie-type gallery item will be created out of the current Archicad camera path
In Publisher, select your Publisher Set and click Publish.

The Publisher process dialog box appears:
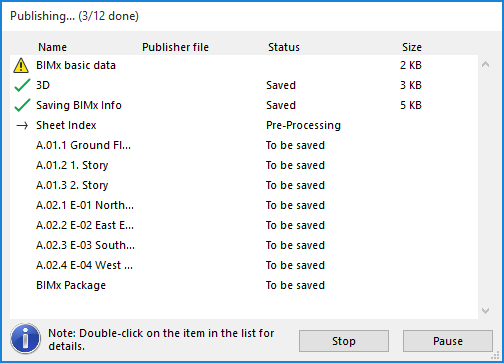
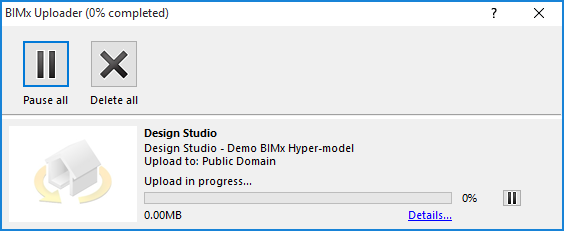
If you are uploading the BIMx Hyper-model to the BIMx Model Transfer site, the BIMx Uploader will track the status of the upload. Use this dialog box to stop the upload or re-start the process as needed.
Click Details for more information.