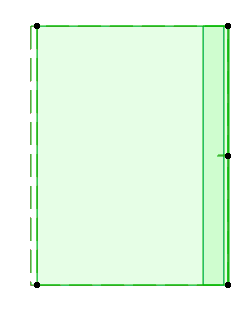
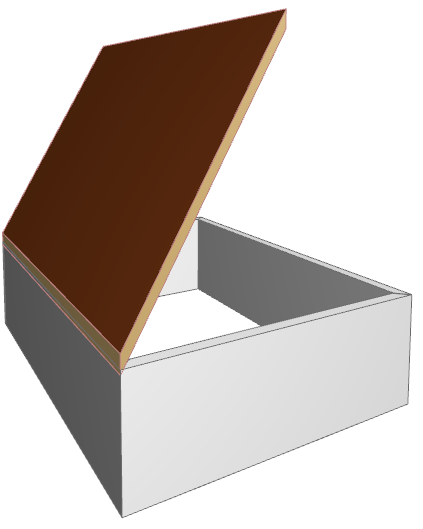
Create a Single-plane Roof on the Floor Plan
Note: Apart from drawing a new Roof as described below, you can also select a Multi-plane Roof and split it into several Single-plane Roofs, using Edit > Reshape > Split into Single-plane Roofs or Design > Roof Extras > Split into Single-plane Roofs.
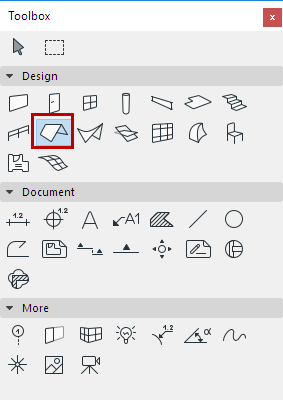
- Select the Roof Tool.
- In Roof Settings or the Info Box, adjust the main roof parameters (e.g. pitch, surfaces).
- Choose the Single-plane construction method from the Info Box or from Roof Settings.
- Choose one of the three geometry methods in the Info Box (Polygon, Rectangle, Rotated Rectangle)

- On the Floor Plan, click twice to define the Roof’s pivot line.
In most cases, you will want the pivot line of the roof to coincide with a wall Reference Line or a slab edge.
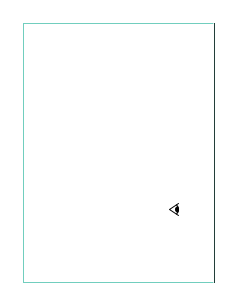
- The eyeball cursor appears. Click on the side of the pivot line where you want the roof plane to rise (or, in the case of a negative roof pitch, slope downward).

- Draw the contour of the roof by clicking on each of the new roof’s nodes. Or use the Magic Wand: Click on an existing element to serve as the pattern for the roof’s contour.
See also Magic Wand.