Compliance Check
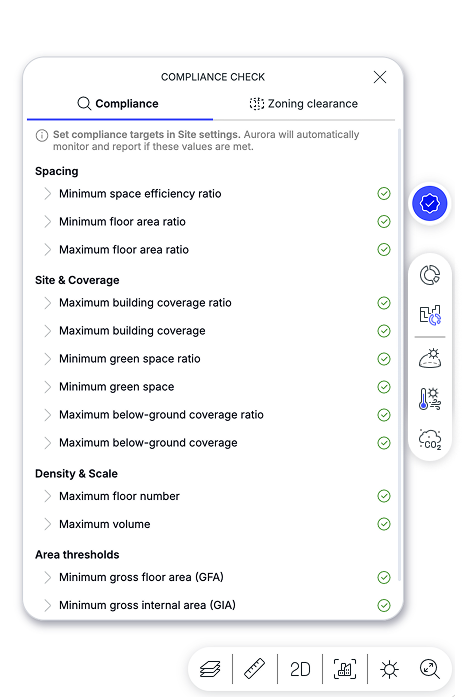
Use Compliance Check to monitor whether the current design meets the Compliance Targets configured for each Site. The panel displays the target values you set alongside the values calculated from the current model.
The Compliance CheckCompliance Check interface is located above the Data and Analytics bar, on the right side of the interface.
Before you begin
Configure one or more Compliance Targets in Site PropertiesSite Properties. Until you define a target, the Compliance Check panel remains empty.
If the project contains multiple Sites, use distinct Site names. Creator displays these names in the panel, helping you identify which Site a result belongs to.
Review compliance status
- Open
Compliance CheckCompliance Checkfrom the Data and Analytics bar. - Identify whether each value is fulfilled or unfulfilled.
- Select a warning row to zoom to the Site associated with that warning.
- Adjust the Site or Building design as needed.
- Review the panel again after making changes.
The contents of the panel update dynamically after model changes. A value that exceeds a maximum target or does not meet a minimum target appears as a red warning row.
For example, if a Building footprint becomes too large for the configured maximum Building Coverage Ratio, the related target appears as a warning. Select the warning to locate the affected Site, reduce the footprint, or revise the target if the requirement has changed.
Next steps
- Compliance Targets — Add or update the targets monitored by Compliance Check.
- Create a Building — Change the Building footprint, height, Floors, or position.
- Area Metrics — Review the calculated Site and Building areas that inform area-related targets.
- Run Zoning Clearance — Check Building geometry against the Site’s 3D Constraints.