Master Layouts
Each Layout is assigned a Master Layout.
- The Master Layout defines the size of the Layout page
- The graphic and text items that you place on a Master Layout (“Master items”) appear on every Layout that uses it
Master Layouts are found in the Masters folder of the Layout Book.
You can use a predefined Master Layout, or customize your own. Most options are set in Master Layout Settings.
Assign Master Layout to a Layout
Display of Master Layout Items
Open Master Layout
See Open a Layout.
To open the current Layout’s Master, do one of the following:
Default Master Layout
The default Master Layout is shown as dog-eared. It is assigned to every newly created Layout.
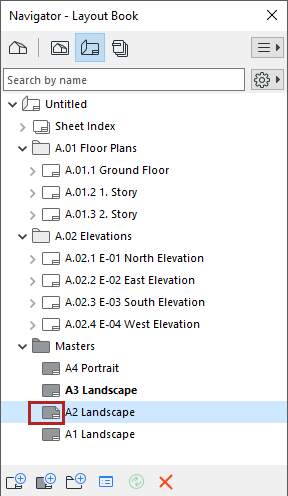
Set a Master Layout as Default
Select the Master Layout in the Navigator or Organizer, then do one of the following:
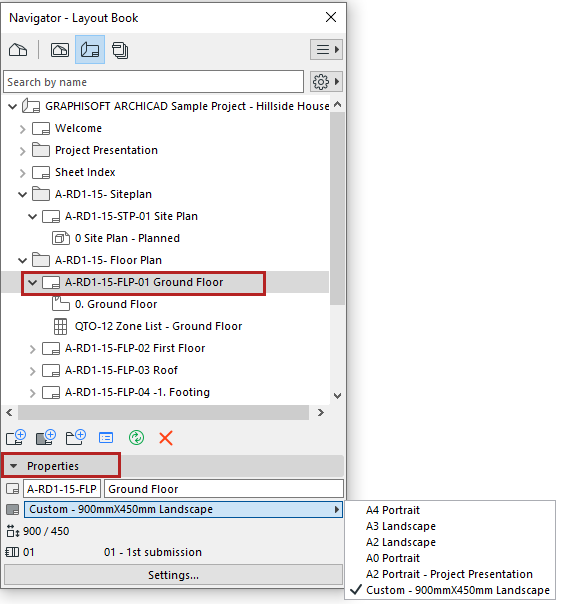
Assign Master Layout to a Layout
Do one of the following in the Navigator Layout Book:
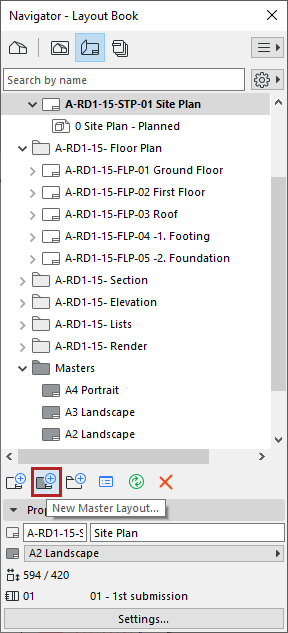
Create New Master Layout
To create a new Master Layout, do one of the following:
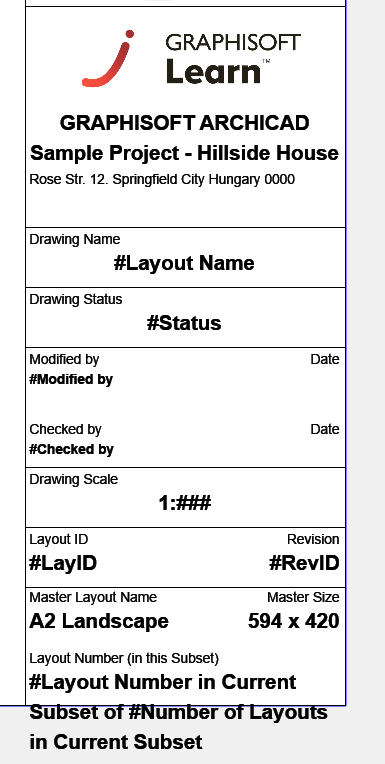
Master Layout Title Block
The default Master Layouts include commonly used title blocks which are composed of 2D drawing elements and text items, including Autotext.
To edit or create a title block: Open the Master Layout and use the 2D editing and text tools to add or modify the content.
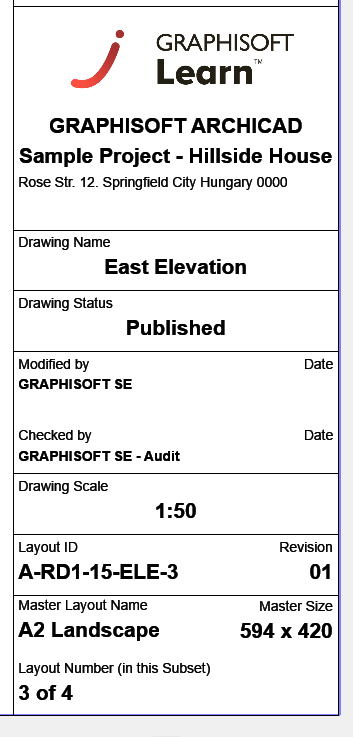
For example, the Title Blocks of the Master Layout pictured below includes
- Text blocks with company and project data,
- a logo image
- text blocks with Autotext items: Drawing data, Layout and Master Layout data
 |
 |
|
Title block on Master Layout |
Title block on actual Layout |
Display of Master Layout Items
Color
By default, Master items are displayed in their original colors.
Assign a uniform color at Options > Work Environment > On-Screen Options.
Above Layout/Below Layout
Display Master items below or above the Layout: Set this in Master Layout Settings.
Hide Master Items
To hide the on-screen display of Master elements on all Layouts: Turn off View > On-Screen View Options > Master Items on Layout.