Place Terminal, Accessory, or Equipment
The MEP Library contains specially configured Accessory, Equipment and Terminal elements.
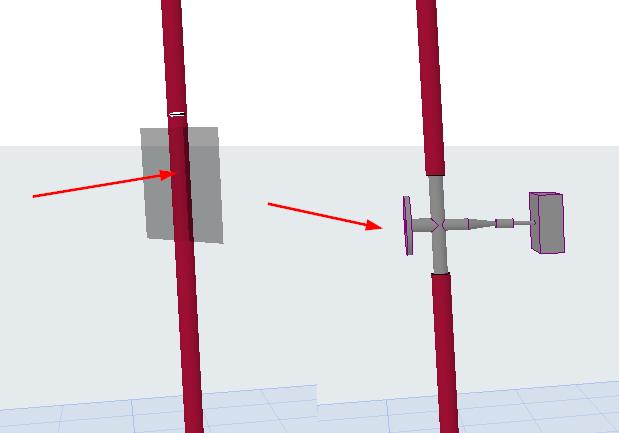
Use the dedicated Terminal, Accessory, and Equipment tools to place them in the Floor Plan or 3D windows.
- Select the tool, then click once on a route segment to place it
- If there’s not enough space or if the fitting is not in line with the route: a standalone accessory is placed, not connected to the route
- The element placed second (route or accessory) inherits the MEP System of the first element’s connection point
Place inline equipment
|
|
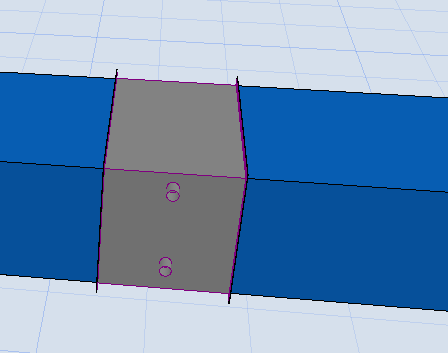
Inherit route size
By default, the MEP accessory or equipment matches the size of its host route element. To change this default for each element, uncheck the Connection size option in the Info Box:

If checkbox is off: the MEP element keeps its own size and a transition is added if needed.
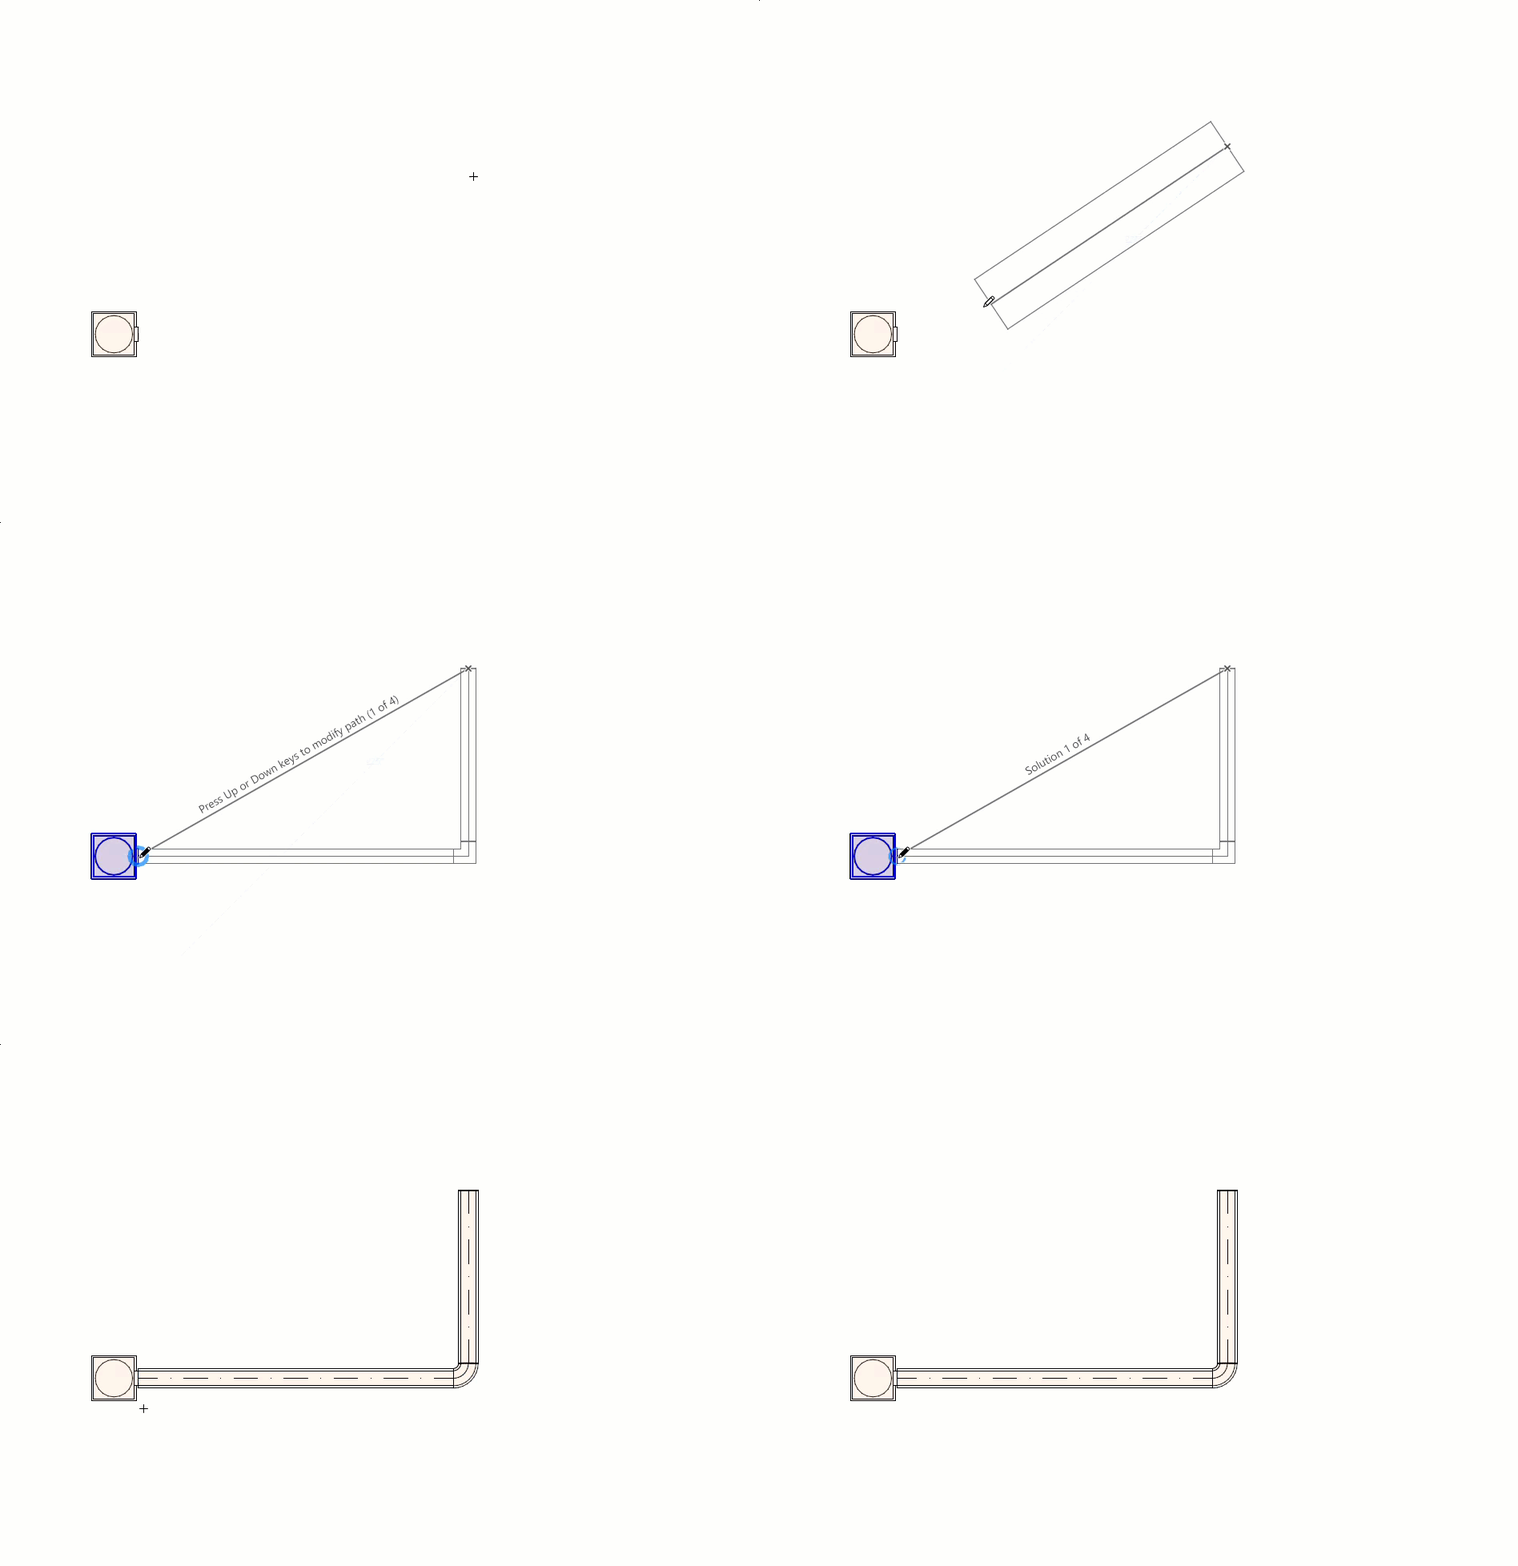
Find optimal route connection
When connecting a route to a terminal, accessory or equipment, use the up and down arrow keys to see alternative paths to connect the route
To choose among overlapping ports: use Tab key to cycle through the available ports, then select the one you need