Issue Management Workflow: Example
In this example, two Teamwork users use Issues to manage the replacement of office furniture.
User 1 Creates the Issue
1.Select the problematic objects.
2.Create and name the new Issue. (See Add Selected Elements to New Issue.)
3.The Issue opens in Issue Manager: Issue elements have been added to the Highlights panel.

User 1 Gives the Issue to User 2
1.Open Issue Manager
2.In the Issue item’s Teamwork Owner column, assign the Issue to User 2. (See Assign Issue to User.)

User 2 Gets The Issue
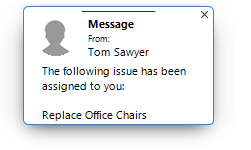
1.User 2 gets the alert and clicks to open the message.
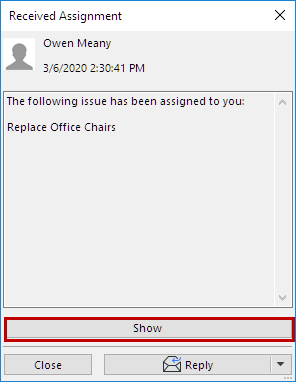
2.From the message, click Show: The Issue is listed in Issue Organizer.


3.Double-click the Issue to see its content in Issue Manager.
4.Click the Select All Elements icon to see the highlighted Issue elements close up.

User 2 Modifies the Elements
User 2 decides to update the chairs.
1.Reserve the Issue elements (if needed.)
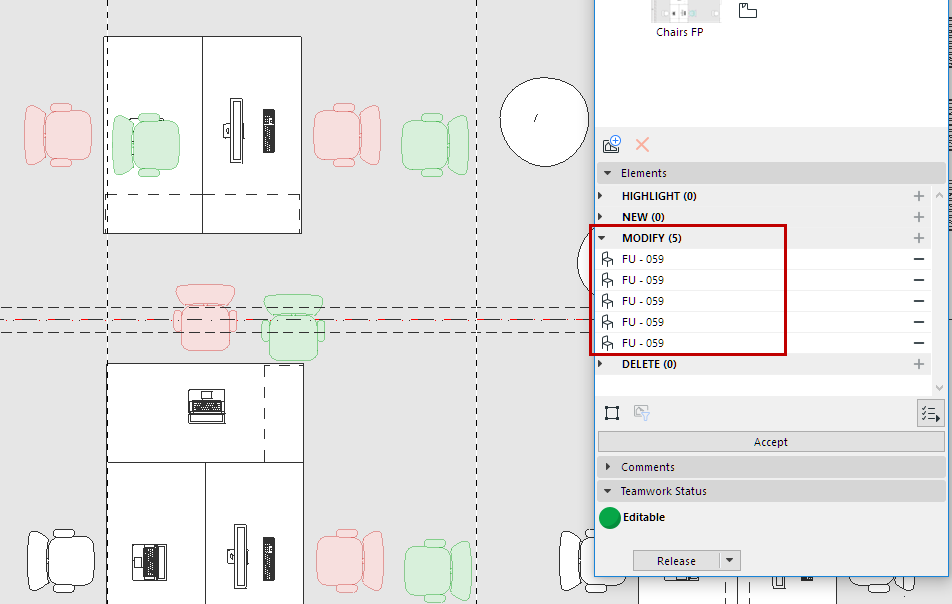
2.Move the elements to the Modify part of the list in Issue Manager. (See Suggestion Elements in Issue Manager (Highlight, New, Modify, Delete))
3.Select the elements in the model and move/change them to a more modern chair type.

4.Reassign the Issue to User 1. (See Assign Issue to User.)
User 1 Gets The Issue and Accepts the Changes
1.User 1 gets the alert and clicks to open the message.
2.From the message, click Show: The Issue is listed in Issue Organizer.
3.Double-click the Issue to see its content in Issue Manager.
4.Zoom in to see the modifications in the model.
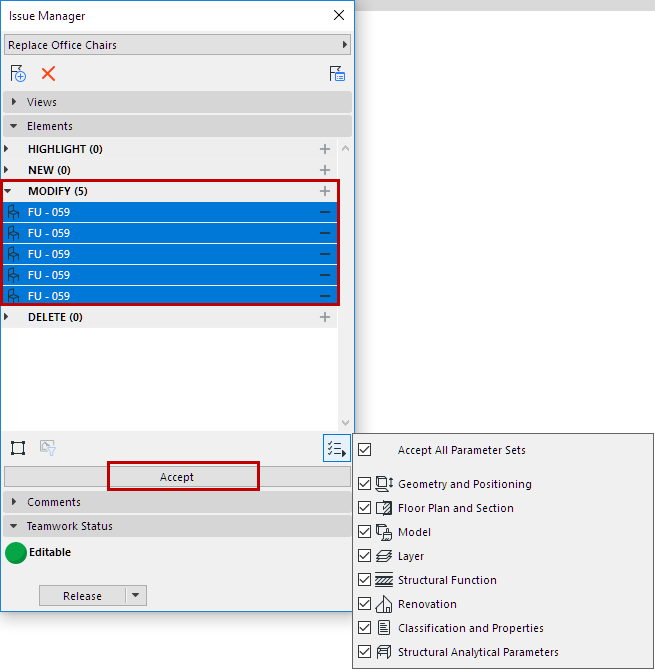
5.In Issue Manager, select the elements you want to Accept.
6.Click Accept.
•You can opt to accept only certain parameter sets: Uncheck the parameters you want to skip.
