Open the Pens & Color dialog from:
•The Pen Sets icon in the Quick Options bar
•Document > Pen Sets > Pens & Color or
•Options > Element Attributes > Pens & Color

If a model view window is active, the name of the dialog box is Pens & Color (Model Views); the pen set you choose here will be applied to the model views.
If the Layout Book is active, the name of the dialog box changes to Pens & Color (Layout Book), and the pen set chosen here is applied to the Layout Book.
Select a Pen Set for either Model Views or the Layout Book.

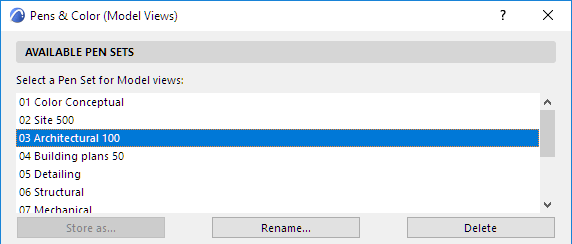
•Rename: Click this button to give a new name to the selected pen set.
Note: The Rename button will not create another copy of the selected pen set; the new name will replace the old one.
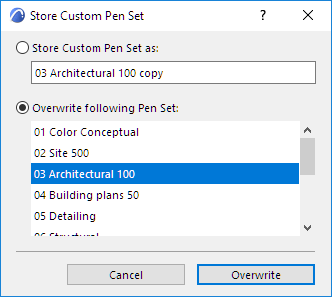
•Store as: If you have edited any controls of the selected pen set, the active pen set appears as “Custom” and the Store as button becomes active. Click it to save the Custom pen set:

-Store the pen set under a new name (enter any name into the field); or
-Overwrite a selected Pen Set with your custom Pen Set
•Delete: Click this button to delete the selected pen set.
See Delete attributes.
Selected Pen Set Editing Panel
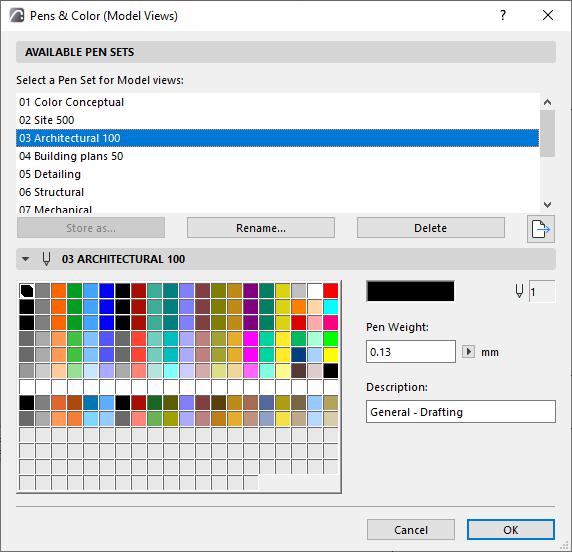
There are 255 pens represented in the tablet. Their index numbers are indicated by their position in the tablet. The top row contains pens 1 to 20 from left to right, the row below, pens 21 to 40, and so on.
There is a default color assignment for each pen, but you can edit any color for a specific pen by double-clicking its color box or clicking the Edit Color button.
Note: To select continuous or discrete ranges of pens for simultaneous editing, use Shift-click and Control-click (Mac: Cmd-click), then click Edit Color.
The Edit Color dialog box appears, in which you can select your color graphically or numerically. This is a system-level control. (In case of multi-selection, the dialog box is called Edit Selected Colors.)
You can edit pen weight numerically using the fields in the Pens and Color dialog box. If you click on any color in a pen set, the Description field indicates the purpose for which the pen is optimized in this pen set.
If you have edited any of the selected pen’s controls, the name of the pen set changes to Custom. To save these changes, you must click Store As and name the pen set with a unique name, or overwrite an existing pen set.
Archicad offers user-defined Pen Weights associated with each of the 255 Pen Colors. Pen Weights are measured in points or millimeters, depending on the current drawing units set in the pop-up menu next to the Pen Weight edit field.
•Pen Weights will be displayed accurately only if you choose True Line Weight in View > On-Screen View Options > True Line Weight. (Disabling True Line Weight here means that Line Weight will be shown as Hairlines: all lines are one pixel wide only. If you also enable Bold Cut Lines, then all Cut Lines will be 2 pixels wide.)
Note: The Hairline option (achieved by disabling True Line Weight in On-Screen View Options) affects display only. For hairline output, use the Hairline checkbox in the Print or Plot dialog box.
•Separate pens can be assigned to line arrowheads, various dimensioning components and vectored fill pattern strokes through the corresponding Tool and attribute dialog boxes.
Note: A Pen Weight of 0.00 always produces the thinnest weight possible (i.e., one pixel on the screen or a hairline on a laser printer, depending on the printer’s resolution).