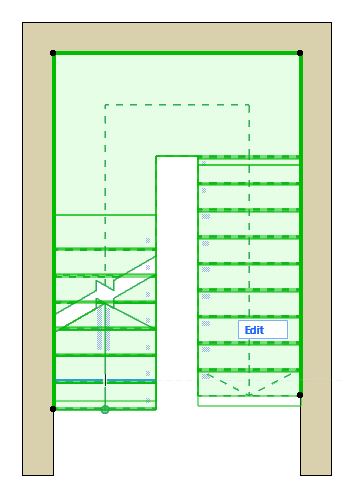
Graphical Editing of Stair Scheme
The following functions let you adjust overall Stair geometry on the Floor Plan, without having to use Edit mode.
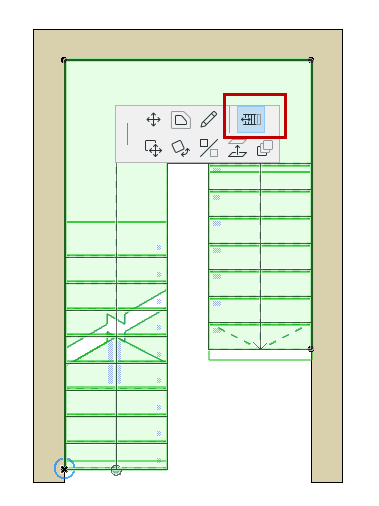
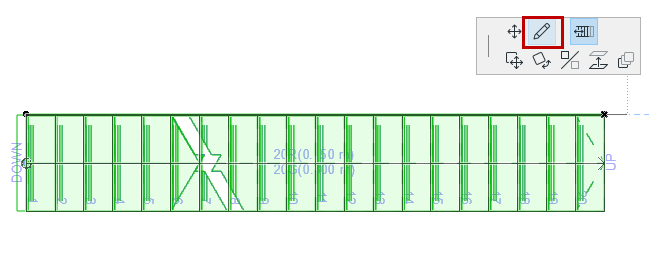
Rearrange Steps
Use this pet palette command to graphically rearrange the symmetry of a U-shaped stair:


The Stair Baseline is created during input. Use Stair Settings or the Info Box to set the Baseline position and any offset (either before or after input).
See also Stair Baseline.
You can edit the Stair Baseline in any window (regardless of Edit mode).
To show/hide the Stair Baseline on the Floor Plan, turn on View > On-Screen View Options > Stair Baselines.
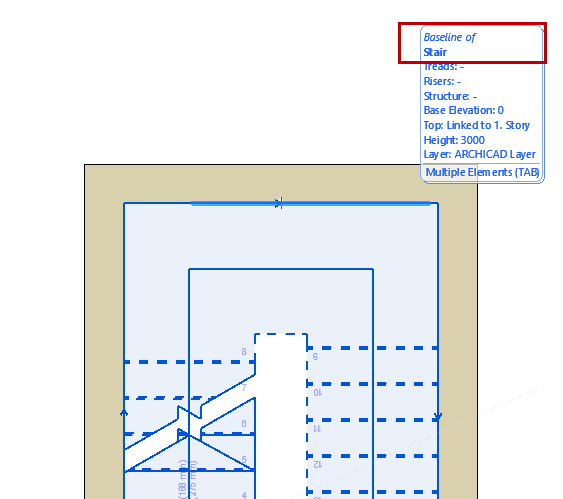
Use the pre-selection highlight tag to make sure you select the Baseline (not the Boundary).
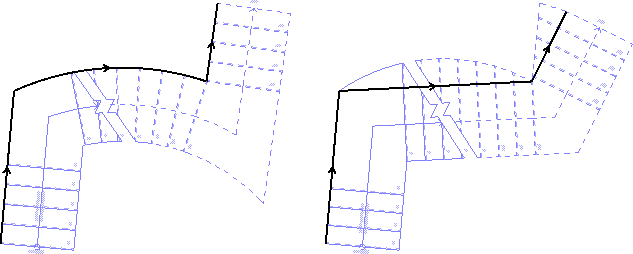
Baseline editing changes the overall Stair geometry, including the Walking Line.
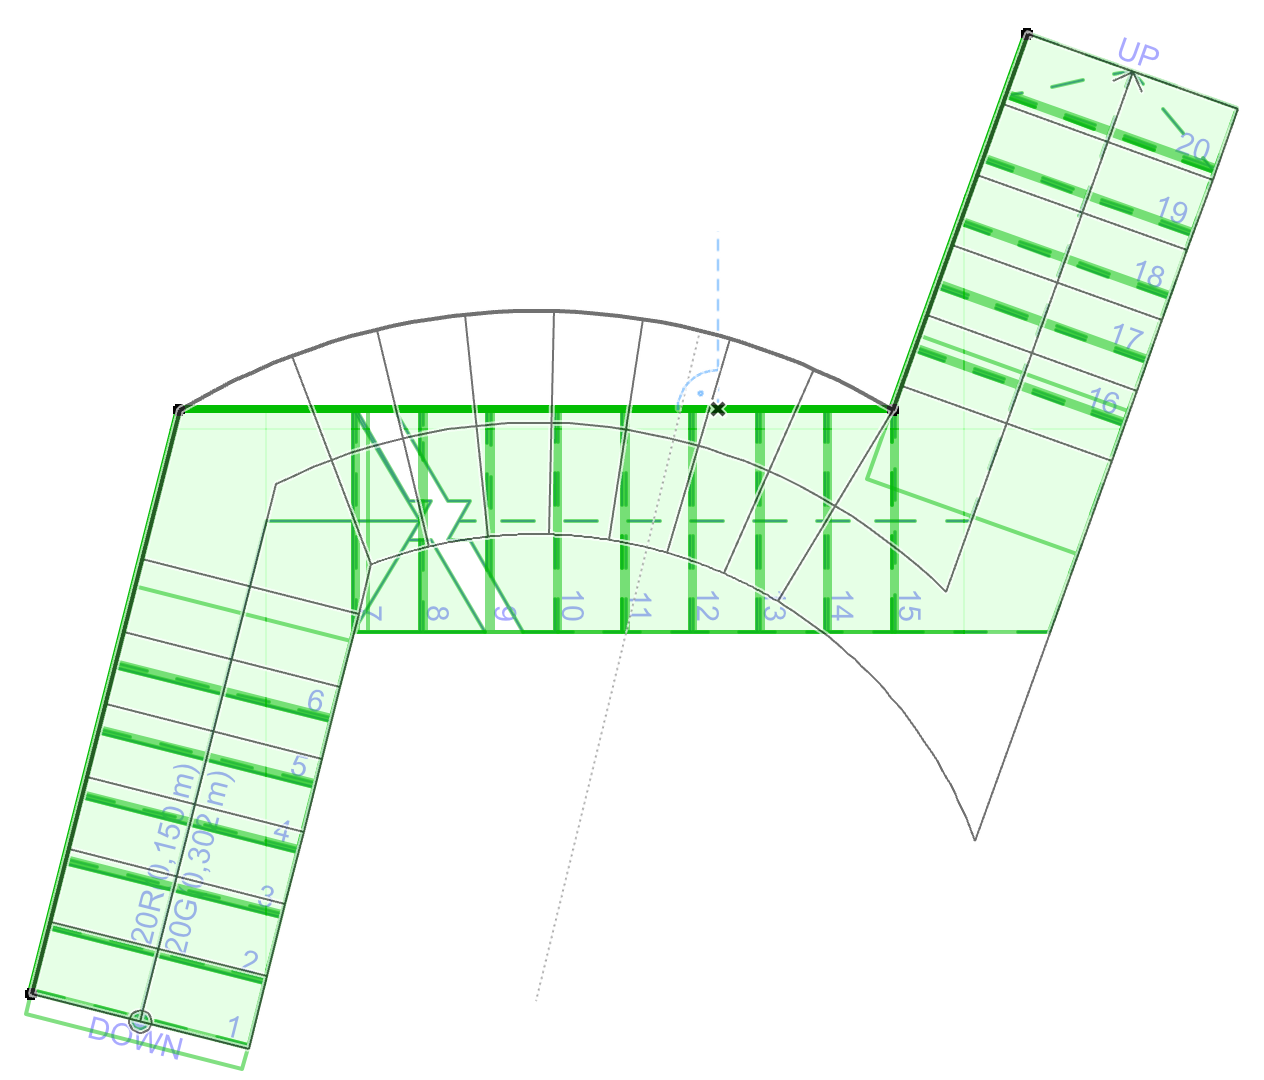
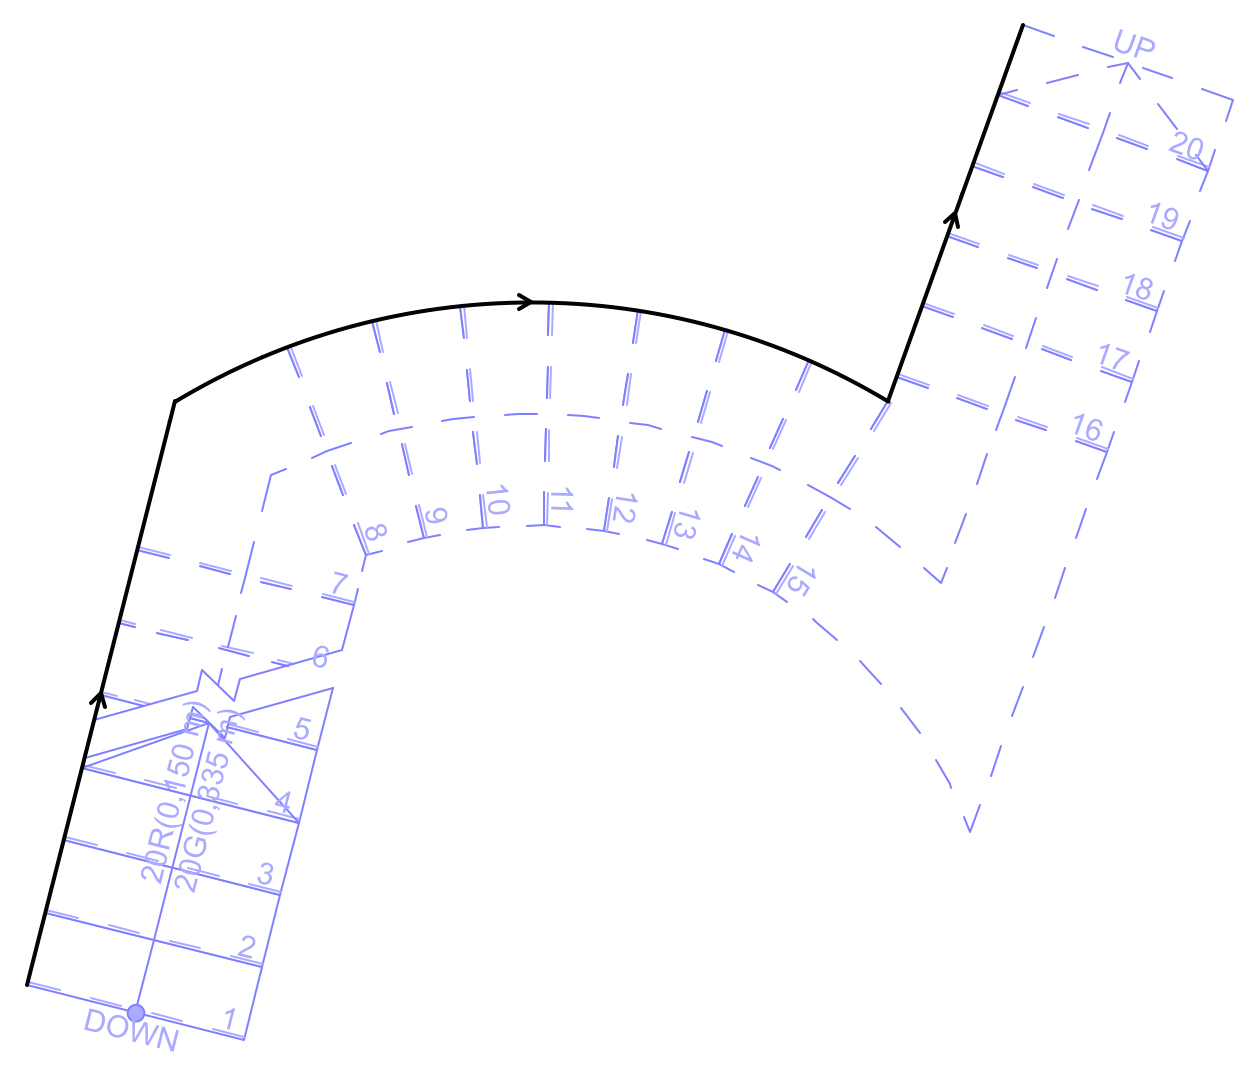
Walking Line Follows Baseline Editing
Continue Stair
To continue a Stair Baseline (in Edit mode or in a model view), use the Continue Stair command from the selected Baseline’s pet palette.
Edit Stair Boundary
Select any part of the Boundary to highlight it.
You can edit the Stair Boundary in any window (regardless of Edit mode).
Use the TAB button and the pre-selection highlight to make sure you select the Boundary, not the Baseline.
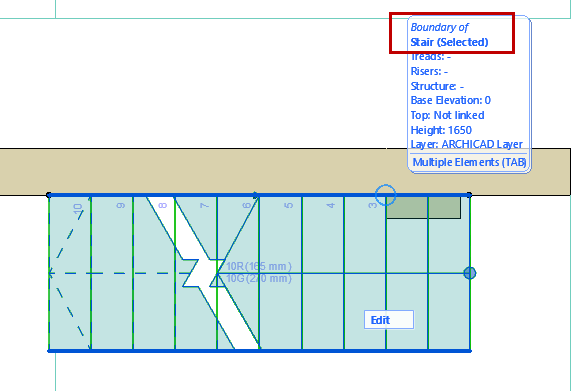
Edit the Stair boundary graphically, using the same pet palette commands as when editing a Fill.
Boundary editing changes the outer shape of the Stair, but the Walking Line and Baseline stay put.
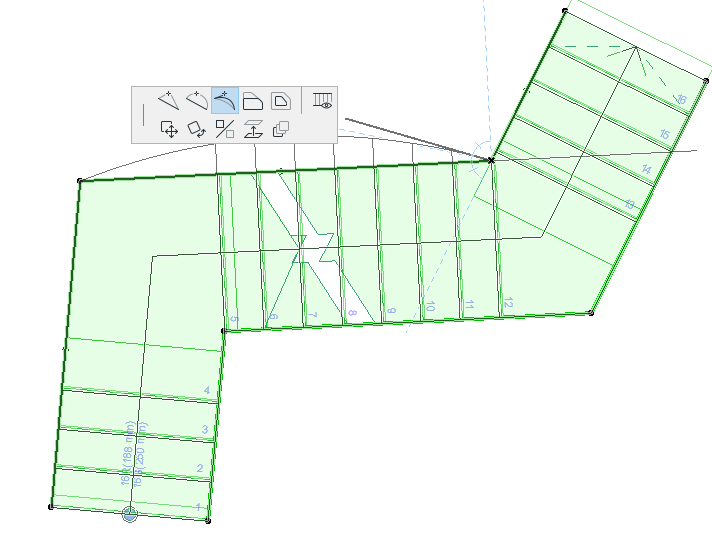
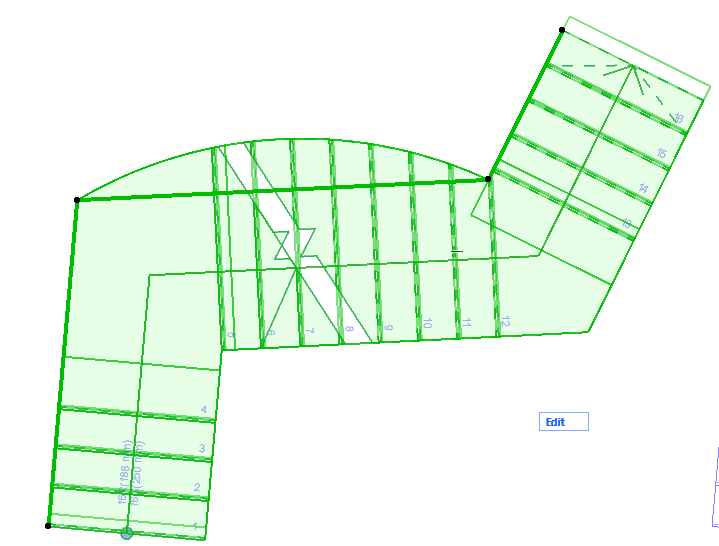
Edit Stair Boundary (Walking Line Unaffected)
Show/Hide Boundary Segment on Floor Plan
For any selected Stair segment, use the Boundary Segment Settings pet palette command to open this dialog box.
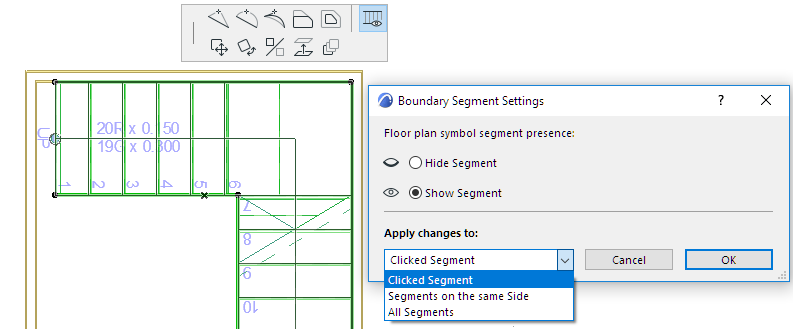
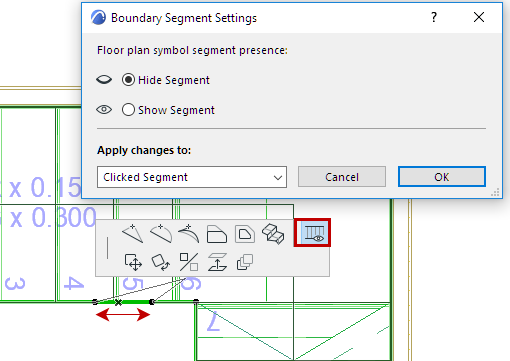
Show or hide the selected segment (or apply to all or other Stair segments) as needed.
For example: you can add two nodes to a Stair segment, then hide the Stair Boundary between those two points.
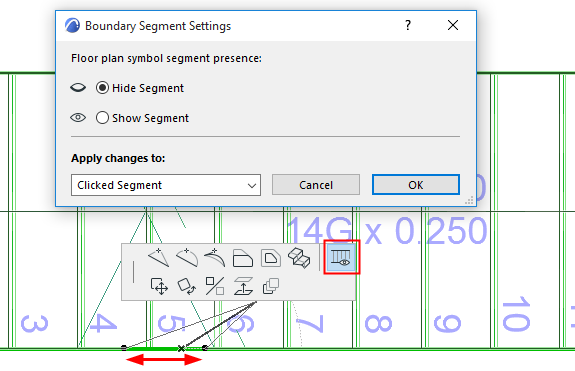
Insert Two Nodes to Create New Stair Segment... Then Select and Hide Segment
See also Hide Any Edge of a Single Tread.
Edit Stair Boundary - Example
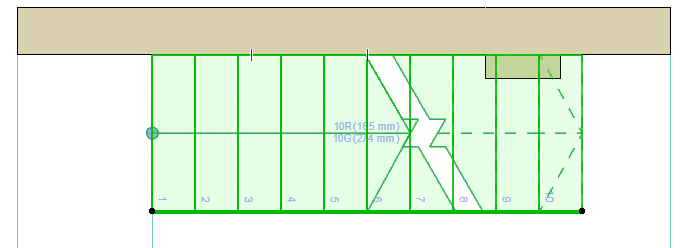
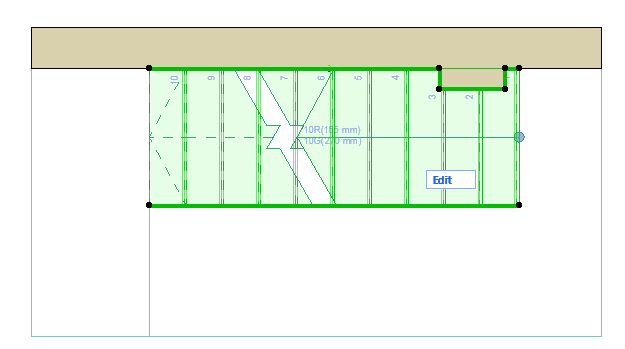
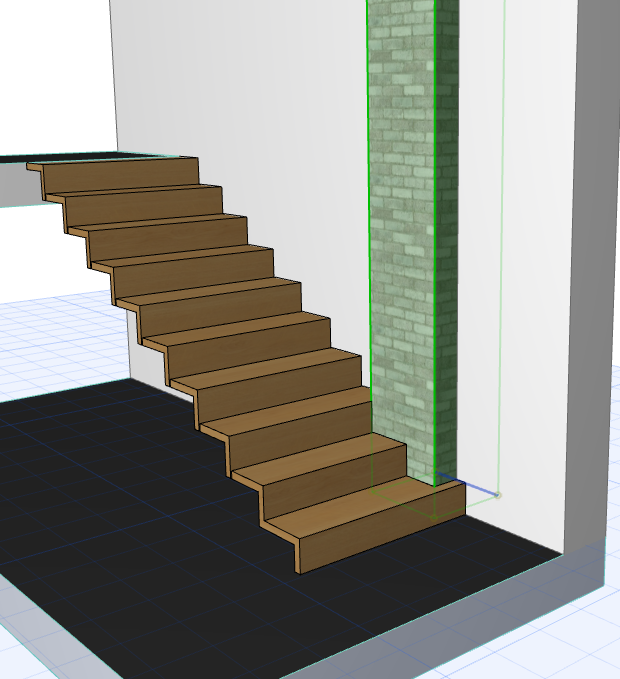
In this example, you can edit the Stair boundary to cut out enough room for a protruding Wall segment.
