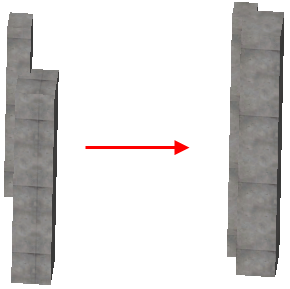
Create Complex Profile from Parallel Elements
A quick way to create a complex profile is to use the Edit > Reshape > Merge Walls/Columns/Beams.
To use this command, draw multiple walls, columns or beams in the model window. The elements must be of the same type and must be parallel to each other. (In the case of curved walls or beams, they must be concentric.)
Executing the command will create a new profile element, which will replace the original elements. The new profile element will be as long as the combined length of the original elements, and will inherit the attributes of the original as well as any wall openings.
By default, the new profile is named “custom” but can be opened in the Profile Editor, modified and saved with a new name.
To merge two or more parallel Straight Walls, use the Merge Walls command (Edit > Reshape menu) on them. The Walls will become the same length, and the cross section of the resulting Wall will be a unity of the cross sections of the two Walls. The bodies of the two Walls do not need to touch, they may be at a distance from each other. This command does not work for Trapezoid or Polygonal Walls.

The Merge Columns command (Edit > Reshape menu) allows you to merge two or more Columns whose axes are parallel to each other. If this condition is met, all types of Columns (Vertical, Slanted, Custom Profile) may be merged. More than two Columns may be merged at the same time.

Use the Merge Beams command (Edit > Reshape menu) to merge two or more Beams (whether Horizontal, Slanted, or Custom Profile) whose axes are parallel to each other. (In the case of curved Beams, they must be concentric).
