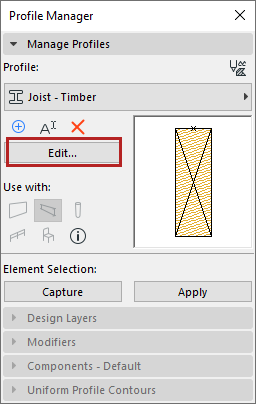
To edit a Complex Profile, you will use Profile Editor - a separate 2D editing window which opens automatically whenever you open a Profile to edit.
1.Open Profile Manager and select a profile to edit.
2.Click Edit.

The selected Profile opens in Profile Editor.

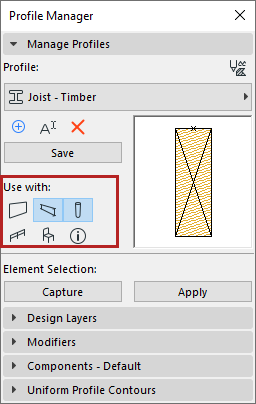
“Use With” - define profile availability
In Profile Editor:
1.Click Edit
2.Click one or more icons to make this profile available for particular tools: walls, columns, beams, railing components, or Library Parts.
Note: Profiles for Library Parts are available only for GDL elements that include a profile selection option - such as Curtain Wall and Stair components.

Create/edit profile components
In Profile Editor:
Use the Fill tool to draw or edit the cross-section of the complex profile. Only 2D drawing tools are available.
Select the fill element, then use Fill Selection Settings to assign Building Material and Cut Line type.

•Only Hotspots, and fills drawn with the Fill tool, will be part of the saved profile.
•Other 2D elements added to Profile Editor (lines, dimensioning, etc.) can be used as local drafting aids, but will have no effect on the final appearance of the complex profile. These drafting aids are located on the “Drafting” Design Layer of Profile Manager.
•Overlapping fills are supported, and will be cut out based on their Building Material Priority at the placed element level.
•The Profile Origin is a significant reference point. See Profile Origin in Profile Editor Window.
Use the other controls of Profile Manager to edit the Profile geometry and behavior:
See also: