
Special Snap Points on Temporary Vector
In addition, you can display Special Snap Points on a temporary vector used while drawing elements. The method can be activated with the Special Snap icon among the relative construction icons in the Control Box.
See Control Box.
In the following example, you will draw a Wall that starts at one- fourth of the gap between two endpoints of two other Walls.
1.Start by choosing the Divisions option in Special Snap Point Settings, then type 4 as the number of Divisions.
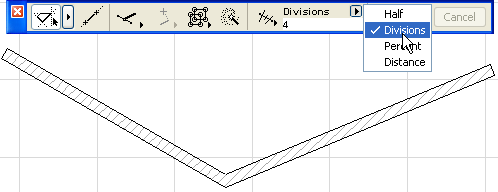
2.Make sure that Grid Snap is inactive. Activate the Wall tool, then choose and activate the Special Snap Point icon in the Control Box.

3.Start drawing the reference vector from the endpoint of one of the Walls.
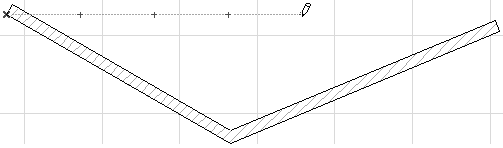
4.A dashed line is drawn indicating the reference vector, with small black dots at the locations of the special snap points. Click the endpoint of the other Wall to terminate the definition of the reference vector.
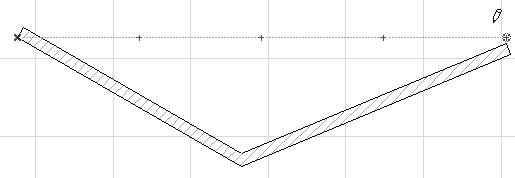
The Edit Origin is relocated to the place of the generated special snap point.

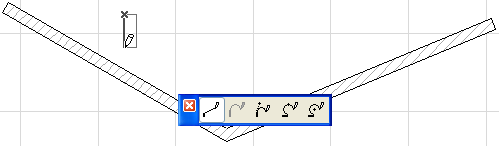
You can start drawing the new Wall.