Reserve Individual Views and View Map Folders
In a Teamwork project, there are two View Map modes: Public Views and My Views. Shared views must be in the Public View Map. To switch between View Map modes, use the pop-up at the top of the View Map:

For more information, see My Views.
Reserve a View
Reserving a view means that you reserve the right to:
•modify the View Settings
•delete the view
•move the view in the View Map hierarchy
Note: To move a view, you must also reserve the view’s source folder and its target folder. See: Moving Views and Layouts in the Navigator: Reservation Requirements
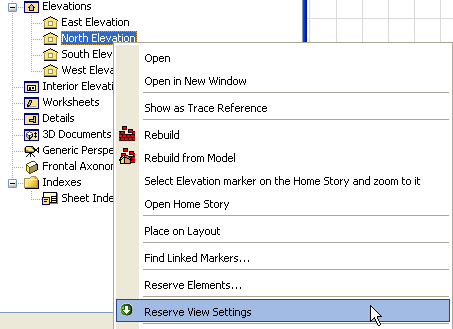
In Public Views, use context menus in the Navigator to reserve the views that you need: right-click the view, then choose Reserve View Settings. Alternatively, select the view and click Reserve at the bottom of the View Map.

Note: To reserve a view, you must be assigned the role: Views and Folders - Delete/Modify. If you do not have this role, the corresponding commands are not available.
Reserve All Available Views
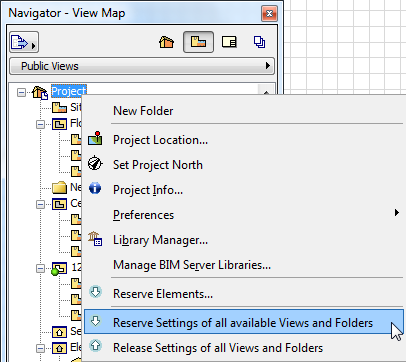
To reserve all available views in a View Map, or one of its folders, right-click the View Map folder, then choose Reserve with all available sub View Settings and Folders.
If the selected folder itself is available too, the command is: Reserve Folder with all available sub View Settings and Folders. (This will reserve the selected folder, plus all available items that it contains.)
Available items are those not currently reserved by any other user.

Reserve a Clone Folder
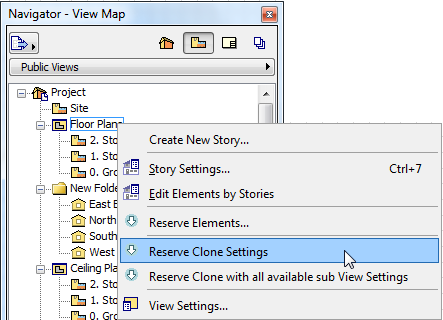
To reserve a Clone Folder, select it and choose Reserve Clone Settings from the context menu.

Reserving a clone folder thus allows you to alter the clone folder settings. (As a result, any new views added to the clone folder will take on these settings.)
See Clone a Folder in the View Map.
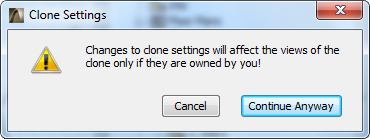
However, alterations to the clone folder settings will only affect the views in that clone folder which you have already reserved. Settings of cloned views that are owned by others will not change even if you change the clone folder settings.
Note: If you change clone folder settings but have not yet reserved all views in that cloned folder, you receive a reminder to this effect.

In addition to the Public View Map, you can use the local “My Views” mode in the Navigator View Map. Views in “My Views” are visible and accessible only by you - they are not shared, and they cannot be sent to the BIMcloud/BIM Server with the Send command.
To use “My Views,” just click “My Views” from the pop-up at the top of the View Map.
To add a view to My Views, make sure that the View Map in the Navigator is in My Views mode. Now, whenever you create a new view, it will be placed into My Views.
Alternatively, set up the Organizer with Public Views on one side and My Views on the other, and copy views from one to the other as needed.