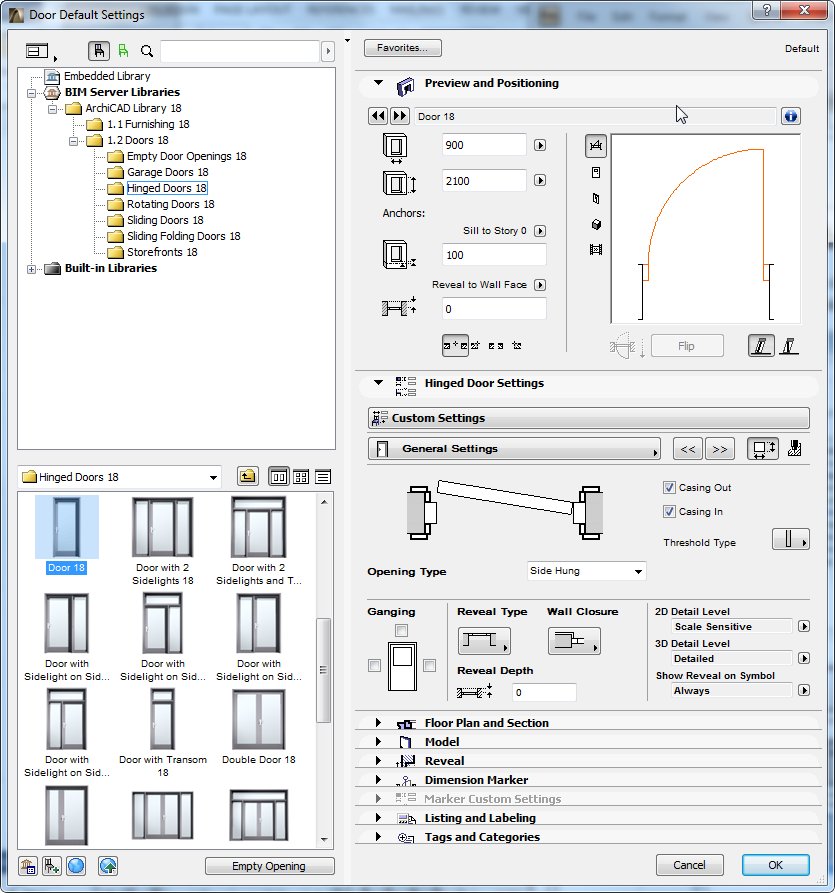
Structure of the Door/Window Settings Dialog Box
Like the Object Settings dialog box, Door/Window Settings has a browser area on the left side and panels on the right side:
Double-click the splitter bar to open/close the browser area (or click the black arrow at the top of the splitter bar).
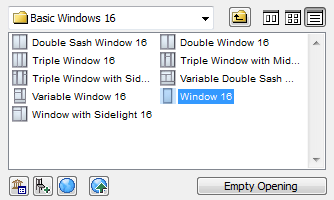
Browse among the folders and objects to find the one you need.
For details on searching, see Search for Library Part.
If you select an object (not a folder) in the browser area, its settings appear on the right-hand side of the dialog box.
Use the icons at the bottom of the Settings dialog box to:
•Go to Library Manager
•Load a different GDL Object
•Go to BIM Components Portal
•Share Object to Portal
Empty Opening: Click this icon to clear the current Library Part choice and automatically use an Empty Hole for the Door or Window opening.
See also Creating an Empty Opening.
Settings Panels
The Door and Window Settings dialog box contains the following panels:
•Preview and Positioning
For details, see Door/Window Preview and Positioning Panel.
•Parameters
•Parameters - Graphical Interface (the name of this panel varies, and is only active if the chosen Door/Window contains a user interface. If it does not, the panel is grey and is just called “Custom Settings”.)
For a description of controls here, see: Graphical Interface Panel for a Door or Graphical Interface Panel for a Window.
•Floor Plan and Section
•Model
•Reveal
•Dimension Marker
•Marker Custom Settings (this panel’s availability depends on the type of marker chosen in the Dimension Marker Panel above. If no marker is chosen, or if the marker has no user interface, this panel is grey.)
•Listing and Labeling
•Tags and Categories