1.Activate the Curtain Wall tool and a geometry method from the Info Box.
See also Create a Single Flat Curtain Wall on the Floor Plan.
2.After drawing the reference line, the sun cursor appears: click with the sun cursor to define the “outside” of the Curtain Wall.
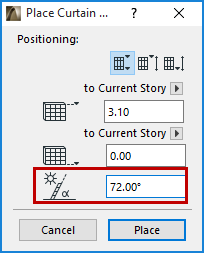
3.In the Place Curtain Wall Dialog Box, enter a pitch: we will use 72 degrees. Note that this angle is measured on the “inside” of the Curtain Wall (opposite the side you clicked with the sun cursor)
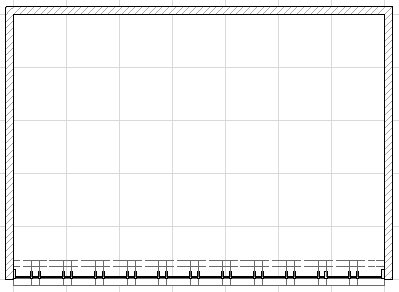
4.Click to place the slanted Curtain Wall.
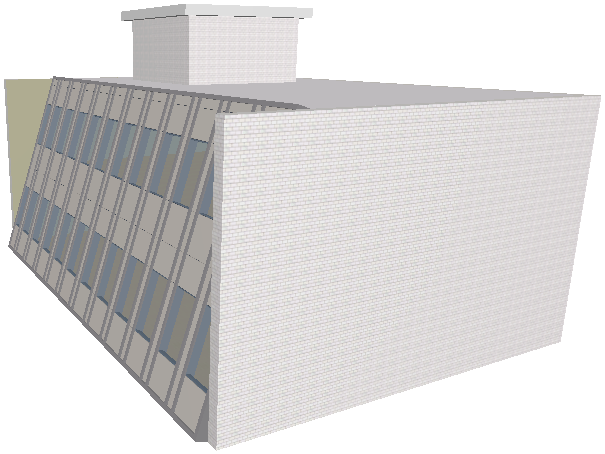
5.View it in 3D:
To change the pitch of a placed Curtain Wall, you can free-rotate the Curtain Wall in the 3D window.
Alternatively, select the Curtain Wall and change the angle value in Curtain Wall Settings (Geometry and Positioning panel).
To trim the ends of the walls by joining them to the Curtain Wall, use the Join Wall(s) to Curtain Wall function.