The items of the new Markup entry can include
•a logically related set of Corrections, Highlights and Tags placed in the model
•an Attached View (screenshot with a real camera position)
•a discussion consisting of comments made by one or several users.
Topics on this page:
A Correction is an element added to the view as a markup item.
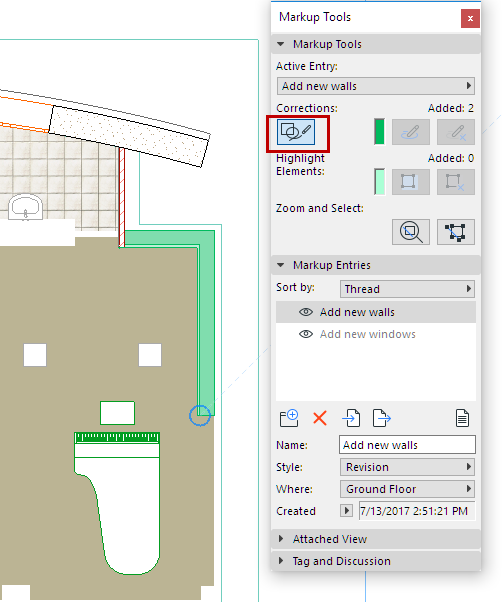
1.On the Markup Tools Palette, click the Start Corrections button.
2.Use any tool to add elements to the current view. Here, we have added a new wall. It is shown in the current green correction color.

New Walls Added as Markup Correction
1.Select an element
2.On the Markup Tools Palette, click the Turn into Corrections button.
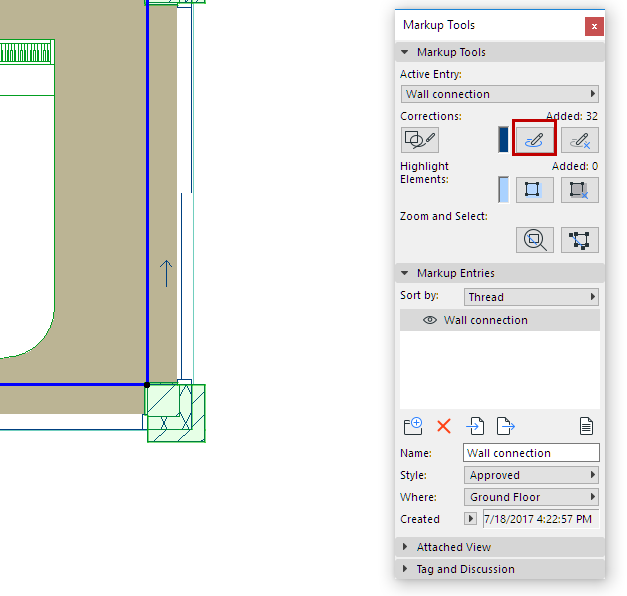
To remove the Correction color from any selected element, click Remove Corrections.
Corrections and Highlights use the colors defined in the Markup Style attribute.
Existing model elements can be highlighted, as part of the Markup.
•Select one or more elements, then click Highlight Elements on the Markup Tools Palette.
•Remove a highlight from a selected element by clicking the Remove Highlight button.
Corrections and Highlights use the colors defined in the Markup Style attribute.
On the Tag and Discussion panel of the Markup Tools Palette:
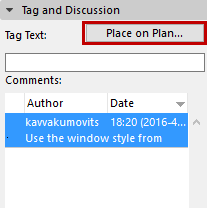
1.Type in your text, and click Place on Plan.
2.Click in the model window to place the Tag (one tag per Markup entry).
•The style of the Tag Text is defined in the current settings Text tool settings.
•Its color is defined by the current Markup Style (Correction color).
•The tag text can be edited as a Text block.
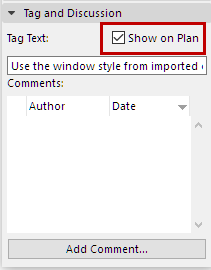
Once a tag is placed, use the Show on Plan button to switch its visibility on and off.
In the Attached View panel of the Markup Tools Palette, click the Capture button to add a snapshot of the current view to the Markup entry (one attached view per Entry).
Attach any of the following view types: Floor Plan; Section/Elevation; 3D view; 3D Document; Worksheet/Detail; Layout; Publisher Set item.
The attached view is not merely a screenshot: it includes camera position and 3D cutting planes.
•Click Apply View to navigate to the corresponding model view, using the same camera position. (The same thing happens if you double-click the name of the Markup entry.)
•Click Restore View to return to the previous, provided that you have not navigated away from it in the window (via Pan, Zoom, or element editing)
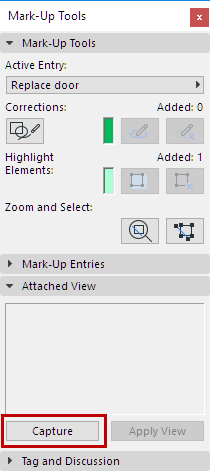
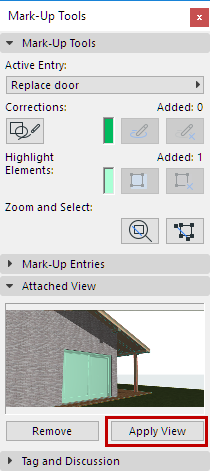

•Double-click on the Attached View preview to open it in a Picture window
•Click Remove to delete the view and remove its snapshot from the Markup Entry
Note: Attached views are included when importing or exporting a Markup Entry in BCF format. (See Export/Import Markup Using BIM Collaboration Format (BCF).)
Watch the Video:
Create Markups in 3D Views
Click Add Comment to open a text window, then type your comment. The Comment style corresponds to the current Markup Style. Comments are read-only.
Colleagues who open your marked-up view can view your comment and add their own: for each Markup Entry, you will see all related comments, by author.

For information on using Markup in Teamwork, see Teamwork and Project Markup.
Watch the Video:
Markup Interface Improvements