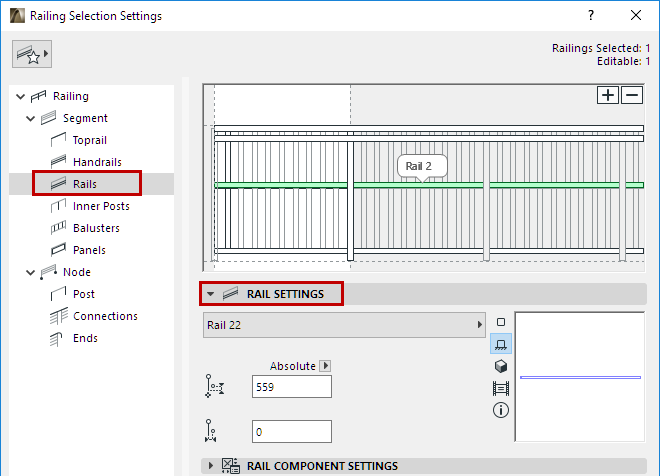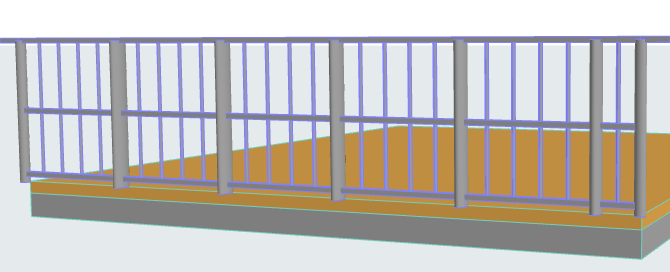
Rails are general horizontal elements. You can offset them from the Railing Segment, and set them at any height. Rail cross sections can be different for each.
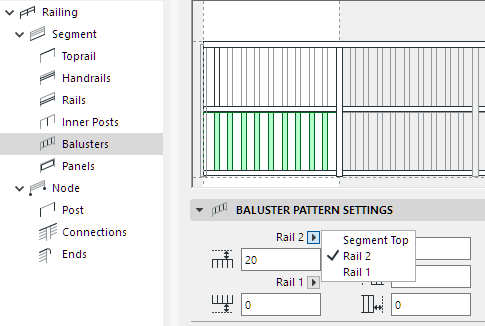
Rails can also be used as a reference point when positioning Panels and Balusters.
To add or delete Rails, use the Plus or Minus sign in the Pattern Editor. There is no limit to how many Rails you can add to the pattern.
For more information, see The Pattern Editor (Railing Tool Settings).

For each Rail selected in the Pattern Editor, define its parameters in Rail Settings:
•Choose a GDL component as the Rail, or choose None from the pop-up (if you do not want to place a physical Rail).
To define settings for the GDL component, use the panel below. See Rail Component Settings (Toprail/Handrail/Rail).
•Set the Rail Height, defined as Absolute (from the Segment Bottom), or as a Percentage of the total Segment height (e.g. 50%).


•Horizontal Offset: Define the lateral offset of the Rail.
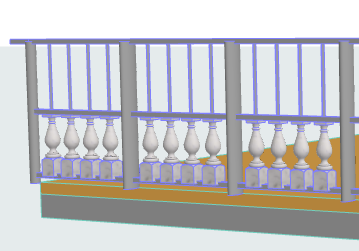
•Note that a newly placed Rail will intersect any Balusters, and can divide these Balusters into separately editable Baluster components, if Baluster heights are defined with reference to the Rail height.


Horizontal Rail Intersects and Splits Balusters
Of course, you can define the Baluster top/bottom to extend to the Segment top/bottom, instead of the Rails.
Note: Segment height is defined in Segment Settings. See Segment Height and Vertical Offset.