Panel Settings (Railing Tool)
Use these Settings to add/remove and define Railing Panels in the Pattern Editor.
Add Panels to Pattern Editor
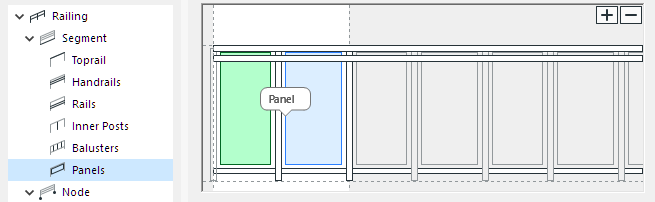
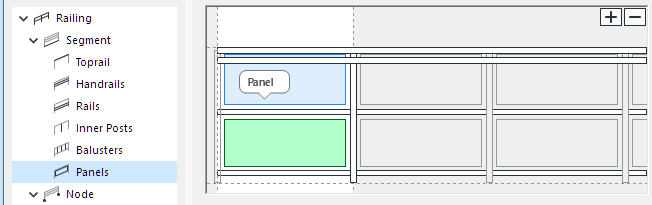
To add or delete Panels, use the Plus or Minus sign in the Pattern Editor.
See also Add Component in Pattern Editor.
You can add a Panel into the empty space between two Inner posts or Rails. If the field already contains Balusters, you cannot also add a Panel.
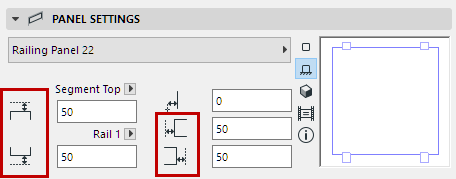
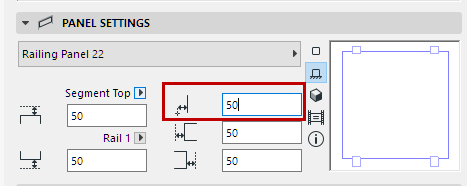
Panel Settings
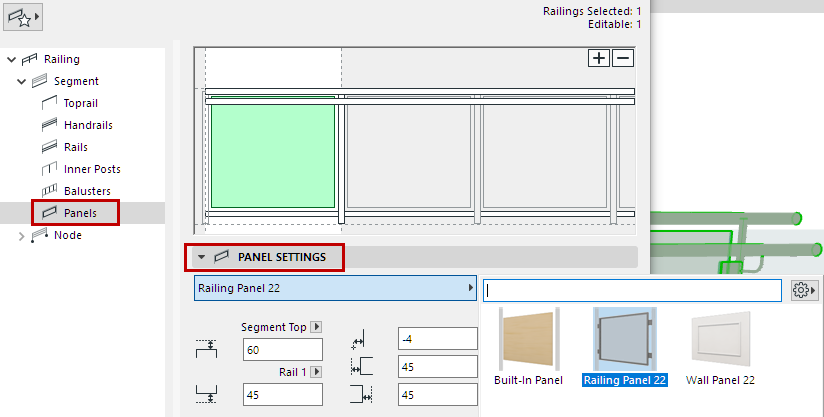
From the pop-up, choose a GDL component as the Panel.
To define settings for the GDL component, use the settings in the panel below. See Railing Panel Component Settings.
In addition to predefined content, you can save a custom component as a Panel.
For details, see Custom Sub-Elements for Stairs and Railings.
Railing Panel Component Settings
Panel 2D Symbol Type
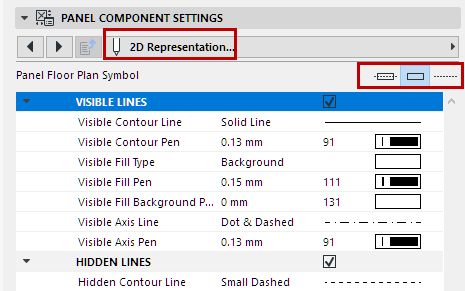
Select a Symbol Type on the 2D Representation tab page of Panel Component Settings.
Panel 2D Symbol Display
Set 2D display preferences for the Panel component, using the controls below (for Visible and Hidden parts of the Railing).
Show/Hide Panel’s 2D Symbol
By default, the visibility of Panel components in 2D views is defined at Document > Model View > Model View Options.
Customize Panel visibility in Railing Settings. (See Railing Floor Plan Symbol Components .)
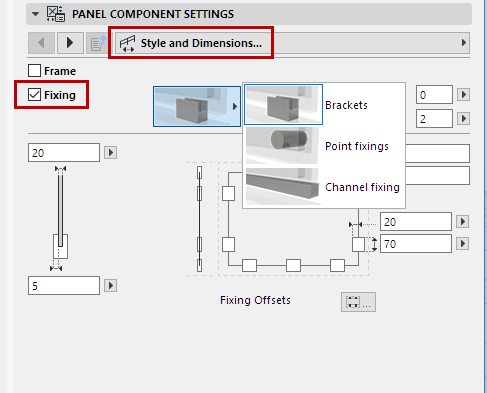
Show Fixing
Click Fixing on the Style and Dimensions tab page of Railing Panel Component Settings to access the settings, including type, size, profile and Building Material, and number.
The controls depend on the type of Fixing you choose (Brackets, Point fixings, or Channel fixing).