Archicad 27 Help
Click here to see this page in full context

Bump (Cineware Surface Channel)
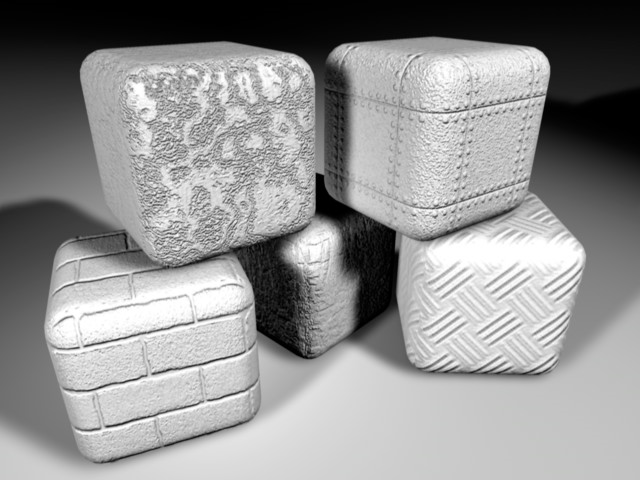
The settings on this page enable you to simulate bumps.
Note: In contrast, the Displacement channel uses “real” bumps. (See Displacement (Cineware Surface Channel).)
A surface has a uniform brightness. However, if you use a bump map for the same surface, the program interprets the brightness values of the picture as height values for the surface.

These height values are converted into a profile, whose height affects the inclination of the normal vectors. Although the surface is actually smooth, through the change in the normal vectors an apparently three-dimensional surface with a bump-like structure is created at render time.

You must use a texture with this channel. It is only from the grayscales in this image that the bump map (a height or relief map) is calculated.
See Textures (Cineware Surfaces).

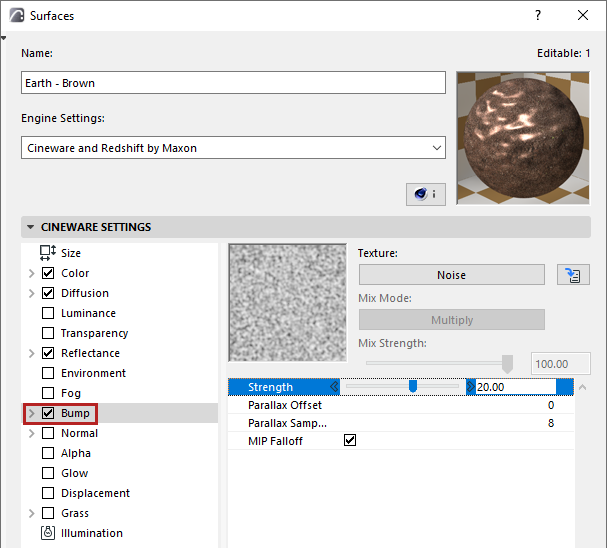
The strength of the bumps. The higher the value, the rougher the surface. If you choose negative values, this reverses the effect of the bump map — bright pixels then cause the surface to indent while darker pixels elevate the height of the surface.
You can enter values much higher than 100%. High values are especially useful when using MIP or SAT mapping, because these interpolation types tend to flatten the surface slightly.
See Special Settings for Image Textures (Cineware Surfaces).
Parallax Settings
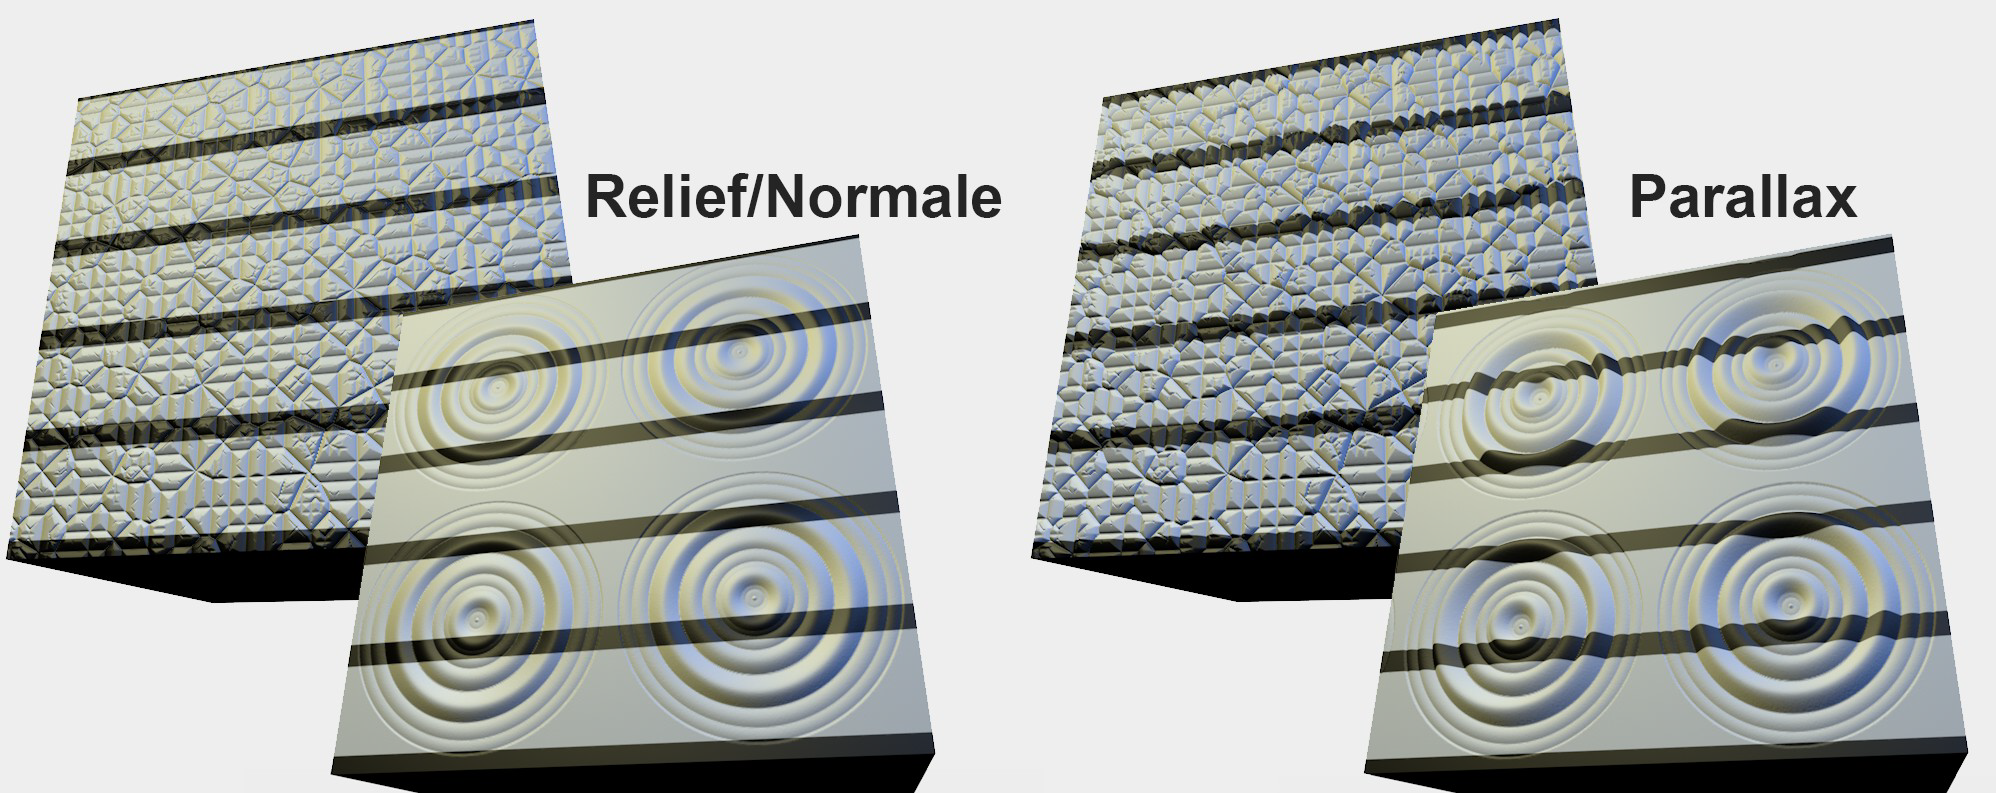
Parallax mapping provides approximately the same quality as subpolygon displacements but without having to subdivide the object internally. This reduces render times dramatically. Internally, Parallax mapping “bends” the UV coordinates to feign elevation on a surface. The color texture is distorted in a manner that makes its perspective distortion appear to be correct (e.g., the black stripes at the right the image below).

Imagine Strength and Parallax Offset as separate sliders: Strength defines the shading based on the bump effect and Parallax Offset calculates the texture distortion. The best results can be achieved when both settings are defined, i.e., bump and Parallax mapping are implemented simultaneously.
Parallax Offset
Use this setting to define the strength of the effect, i.e., the degree with which the UV coordinates should be moved to feign an elevated structure. Make sure to adjust the Strength setting (it most often has to be increased; it cannot be equal to 0) to produce convincing results.
Negative values can also be used to reverse the effect: raised regions will be sunken and vice-versa.
If the value is set to 0, no Parallax Mapping will take place. Bump mapping will take place instead.
Parallax Samples
Normally, these values do not have to be modified. However, if Parallax Offset were set very high, artifacts can appear. To offset this, increase the Parallax Samples value.
Higher values will result in correspondingly longer render times.
MIP Falloff
Enable MIP Falloff to enhance the MIP/SAT mapping effect for bump maps. This will reduce the strength of the bump map with increasing distance from the camera.