1.Activate the Text tool
2.Click on screen. The Formatting Palette and Text Editor appear.
Use one of the following ways to insert Autotext:
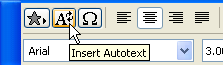
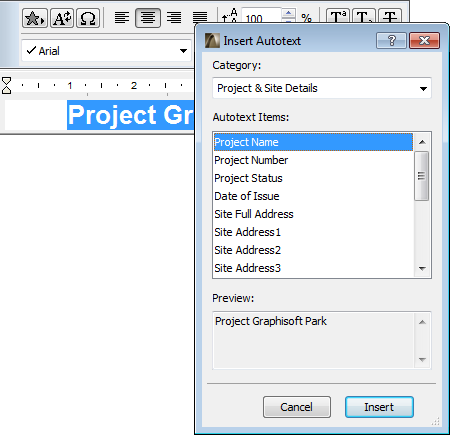
•Click the Insert Autotext button in the Formatting Palette to display a dialog box listing the possible Autotext choices.
You can pick among Autotext in several categories, or choose the All category to see them all. The “Recent” category will list recently inserted Autotext choices.
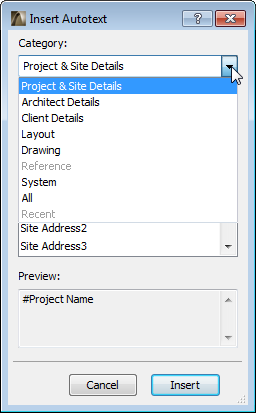
The Preview area will either display the relevant value of the chosen Autotext definition, or else a placeholder text plus ‘#’. This means either that the information is not available yet (for example, the ‘#Client Name’ has not yet been filled in the File > Info > Project Info dialog box) or that it cannot be processed for some other reason (for example, because the view has not been placed onto a Layout).
The other way to insert Autotext:
•Right-click at the insertion point in the Text Editor and choose the appropriate command from the Insert Autotext hierarchical menu.
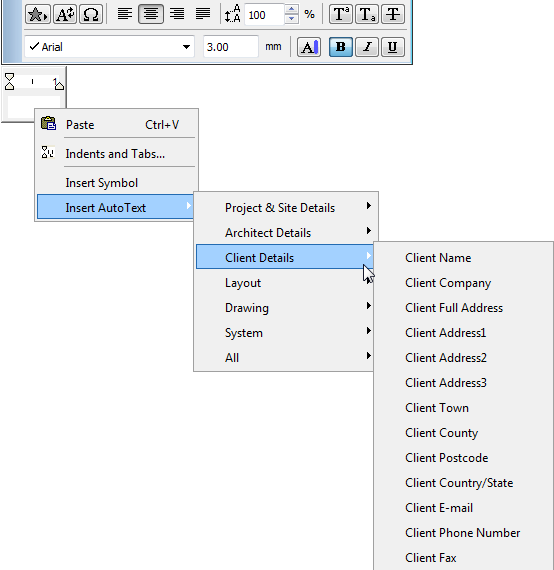
If the information is already available, the appropriate text will appear in the Text Editor after you have selected it.
If the referenced information is not available, you will see a placeholder text.

When the missing information becomes available, the placeholder text is immediately updated with the relevant data.
You can add any number of Autotexts, and type additional static text, in the same text block.
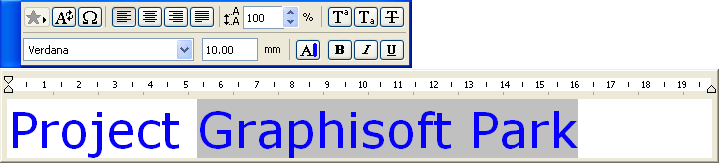
The current Text Settings will be applied. To format individual characters or parts of text within a text block, use the controls of the Formatting Palette and Text Editor.
See Formatting Palette and Text Editor Controls.
There are several sources of Autotext:
Project-specific information such as the name of the project (not necessarily the same as the file name), the name of the architect, the date of issue or any other piece of information entered in the File > Info > Project Info dialog box.
See also Project Info.
•Layout-specific information such as the name or ID of the layout, the name or ID of the subset, the number of layouts in the layout book.
•Drawing-specific information including the name, drawing scale and magnification factor of the drawing.
•Information that comes from a specified drawing (one which you define as an Autotext Reference Drawing.
See also Autotext Reference Drawing.
•System-dependent information (file name, path, date of creation and modification, etc.).
Adding Autotext to GDL Objects
You can use Autotext when scripting GDL objects.
For example, if you use a GDL object-type Title block placed on a Master Layout, you can script the Title block to show the Project Name.
In a GDL script window, the Text Editor interface (with its lists of Autotext entries) is not available, so you must use the corresponding formatting codes.
For a list of Autotext codes for use in GDL scripts, see Autotext Keywords.