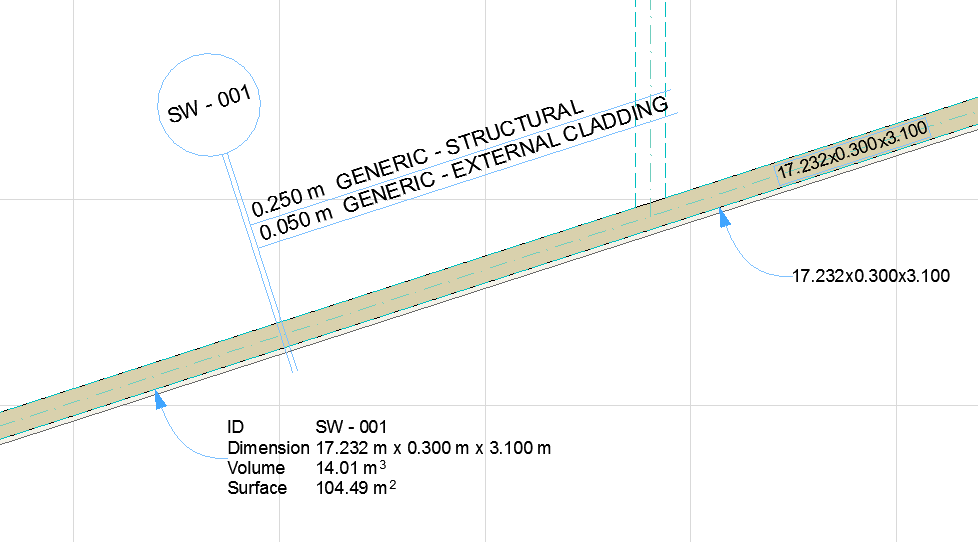
Labels allow you to display different types of data pertaining to the labeled elements.
An element can have any number of labels, of any type.

Label Geometry Methods: Associative and Independent
There are two ways to place a label with the Label tool:
•Associative labels are placed by clicking an element. The label remains associated to the element even after you move or modify the element. As applicable, any parameter values are automatically updated in the label.
For details, see Place an Associative Label.
•Independent labels are not associated to any element. Typically, you will use an independent label to display information that does not come from the model (e.g. “install snow picks here”).
For details, see Place an Independent Label.
See also Convert Associative Label to Independent Label.
By default, the Label tool type is set to Associative. Use the Info Box control to change the Label type to associative or independent, as needed.

Notes:
•If you delete an element, its associated labels are also deleted.
•By default, a Label will be hidden if its associated element is hidden (e.g. on a hidden layer). To display the Label regardless of whether its associated element is visible, uncheck “Hide with Associated Element” in Label Tool Settings.
•Multi-story elements must be labeled on each story separately.

•The Simple method places the Label with one click, using the arrowhead and pointer line type/starting angle (if activated) as defined in the Info Box or Label Settings.
•The Detailed method requires three clicks (or two, if the pointer line’s starting angle is locked), giving you more control over pointer line placement.
See Label Pointer Panel for details on Pointer Line settings.
See also Graphical Editing of Text Box and Pointer Line.
Topics in this section:
Symbol Labels for Element Information
Custom Settings for Symbol Labels
Label Multiple Selected Elements