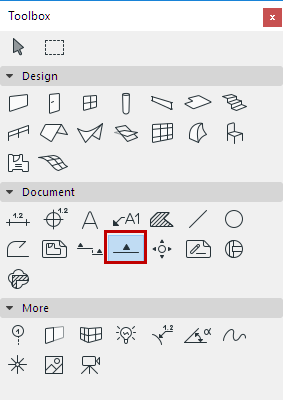
ARCHICAD has a separate tool for creating Elevation viewpoints and linked or unlinked Elevation markers.

In contrast to Sections:
•Elevations generally do not “slice through” the structure, but rather create a cross-section view of the structure from a distant point.
•There is no “zero depth” option for the Elevation’s horizontal range.
•Elevation markers are conventionally different from Section markers; consequently, the Marker options in Elevation Settings vary from their counterparts in Section Settings.
•Unlike the Section Line, the Elevation line is an on-screen-only Marker item, and is not shown on the Layout.
See Display of Marker Range Lines.
In all other respects, the Elevation Tool works the same way as the Section Tool.
•To create an Elevation viewpoint, you must place a source-type Elevation marker on the Floor Plan.
•The resulting Elevation viewpoint has a Status (Model or Drawing) which determines its update process.
•The Elevation Settings Model Display Panel defines the display of the Elevation viewpoint, while the Marker and Marker Head panels determine the content and display of the Elevation marker.
•A linked-type Elevation marker, containing reference information only (without creating a viewpoint), can be placed in the Floor Plan, Section, Elevation, Interior Elevation, 3D Document, Detail or Worksheet Window.
•Unlinked Elevation markers can also be placed.
For more information, see the following topics:
Horizontal/Vertical Range of Section Viewpoint
Model Display in the Section Window
Define Marker Reference for Source Marker
Create an Independent Section Viewpoint
Floor Plan Display of Section Markers
Editing Section/Elevation/IE Lines on Floor Plan
Section and Elevation Settings
Moving an Elevation Marker
This option is available only for Elevation and Interior Elevation markers.

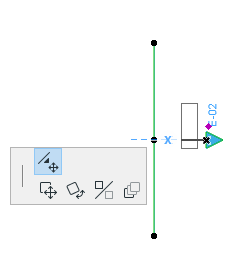
Select the Elevation line; the marker will be selected and will display a node.
Click on this node and choose the Move Elevation Marker command from the pet palette, then drag the marker to the desired position.
The marker will retain this position even if the elevation is dragged or rotated to a new position.