Issue Management Workflow: Example
In this example, two Teamwork users use Issues to manage the replacement of office furniture.
User 1 Creates the Issue
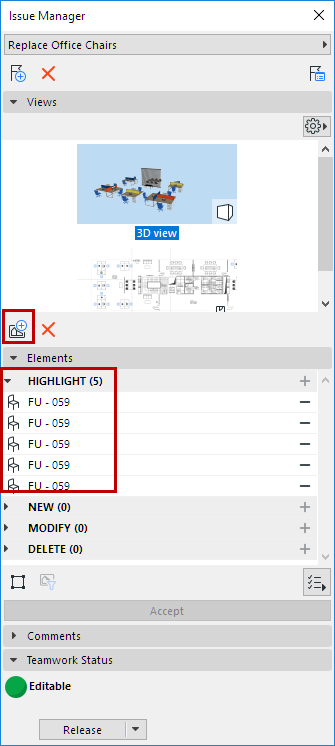
- Select the problematic objects.
- Create and name the new Issue. (See Add Selected Elements to New Issue.)
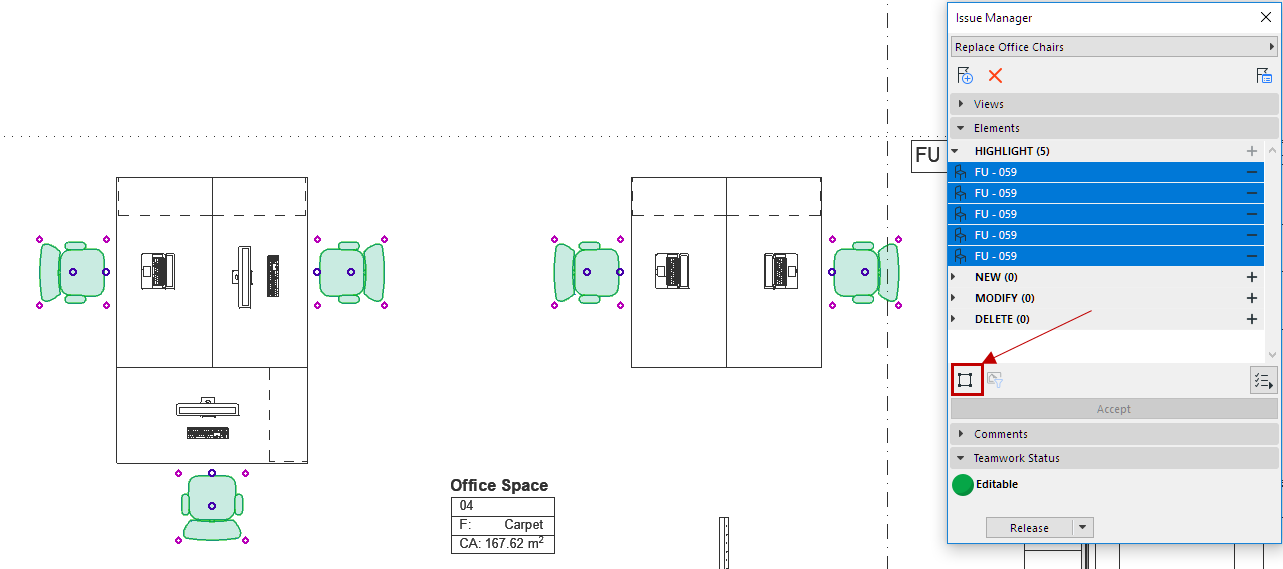
- The Issue opens in Issue Manager: Issue elements have been added to the Highlights panel.
User 1 Gives the Issue to User 2
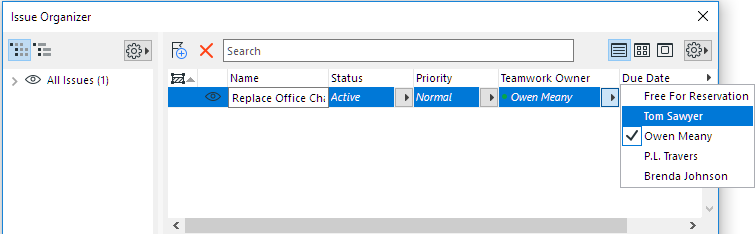
- Open Issue Manager
- In the Issue item’s Teamwork Owner column, assign the Issue to User 2. (See Assign Issue to User.)
User 2 Gets The Issue
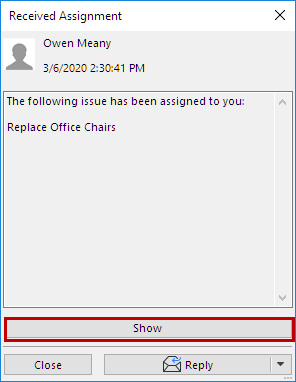
User 2 Modifies the Elements
User 2 decides to update the chairs.
- Reserve the Issue elements (if needed.)
- Move the elements to the Modify part of the list in Issue Manager. (See Suggestion Elements in Issue Manager (Highlight, New, Modify, Delete))
- Select the elements in the model and move/change them to a more modern chair type.
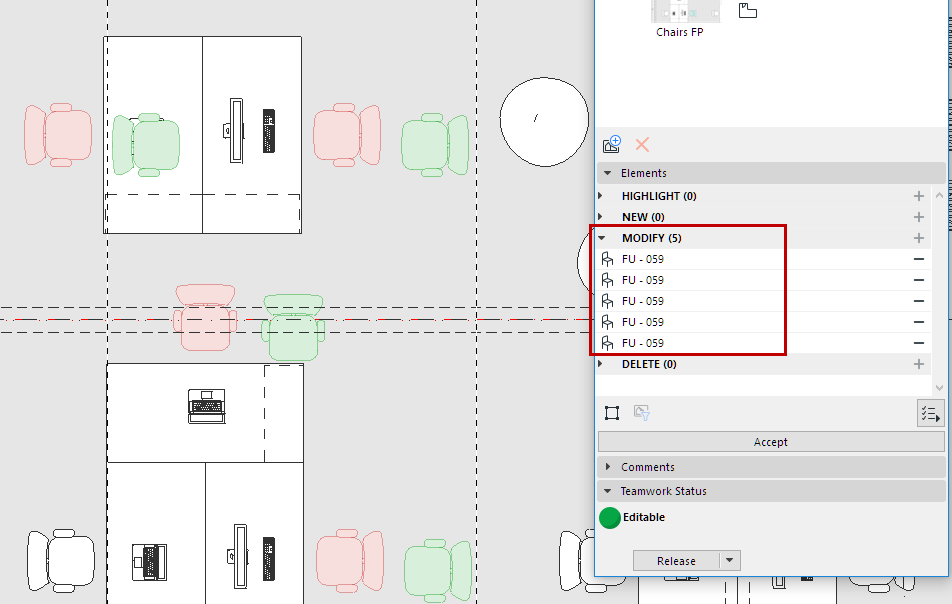
- Reassign the Issue to User 1. (See Assign Issue to User.)
User 1 Gets The Issue and Accepts the Changes
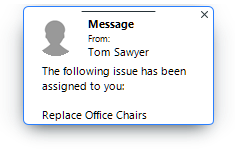
- User 1 gets the alert and clicks to open the message.
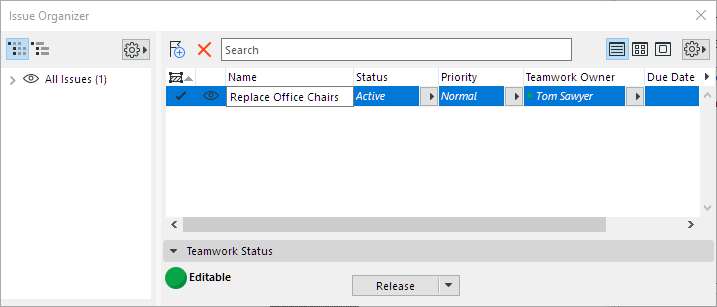
- From the message, click Show: The Issue is listed in Issue Organizer.
- Double-click the Issue to see its content in Issue Manager.
- Zoom in to see the modifications in the model.
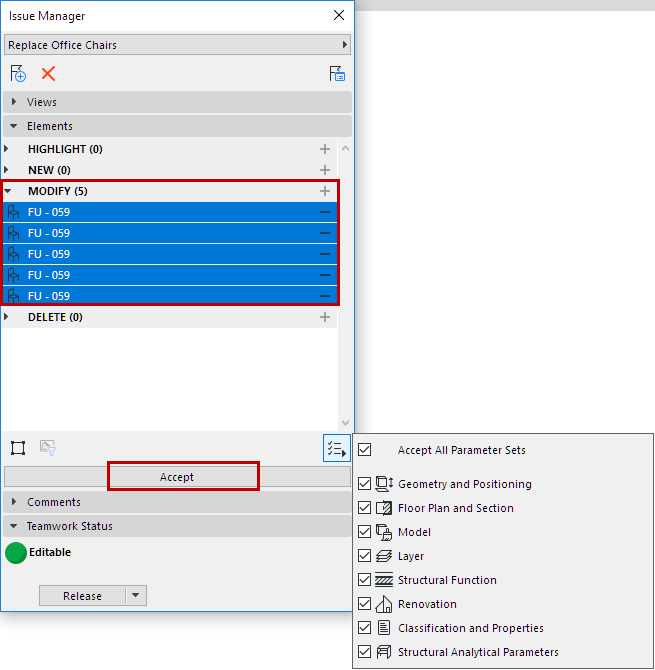
- In Issue Manager, select the elements you want to Accept.
- Click Accept.