Run the migration
This example workflow covers each feature of the Teamwork Multiproject Migration Tool.
- Install each Archicad version currently used for Teamwork as well as the new version you want to adopt, with desired updates.
- Download and install Teamwork Multiproject Migration Tool from Graphisoft Downloads.
- Open Teamwork Multiproject Migration Tool.
- Click to Sign in with your Graphisoft ID. By signing in, you accept the End
User License Agreement and Privacy Policy.
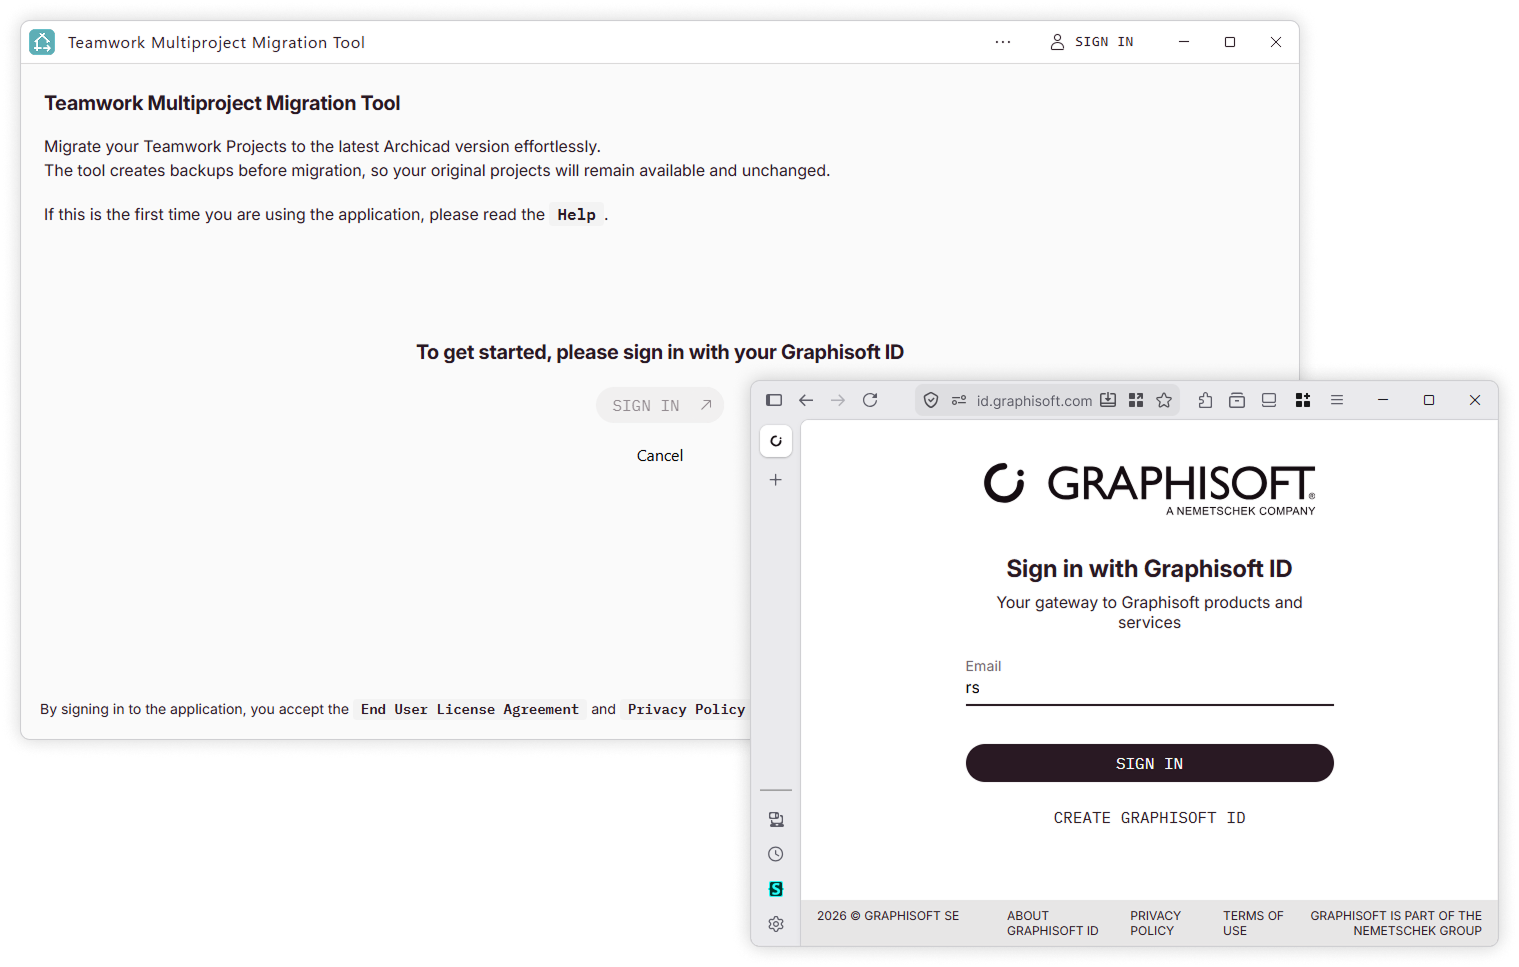
- Provide the BIMcloud address that Archicad uses for Teamwork (e.g.,
http://server1.local:22000orhttps://my-company.bimcloud.com). Click Connect.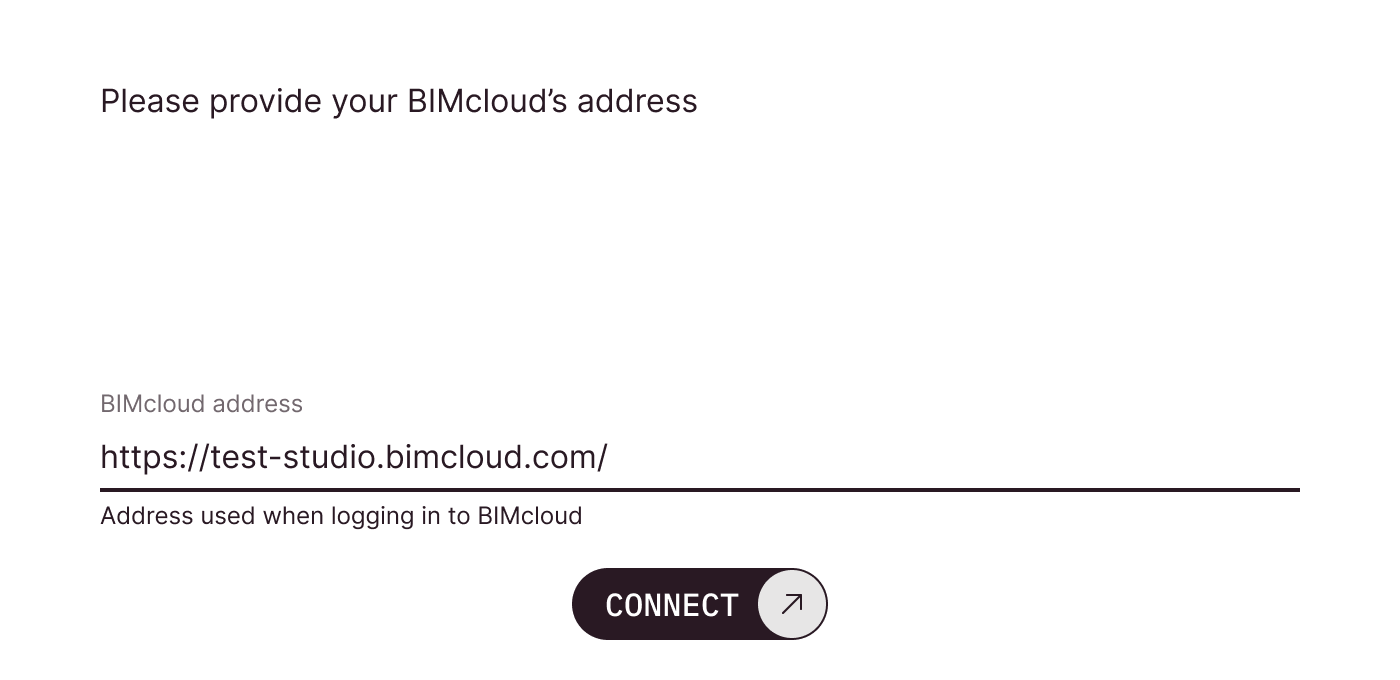
- When prompted, sign in with your BIMcloud user.
- Click the Target version button to select the targeted Archicad version.
(The default version is your newest installed Archicad.)
- If your targeted Archicad version is installed on your computer, yet you don't see it on the list: click Locate manually and browse for the folder that contains the relevant Archicad executable.
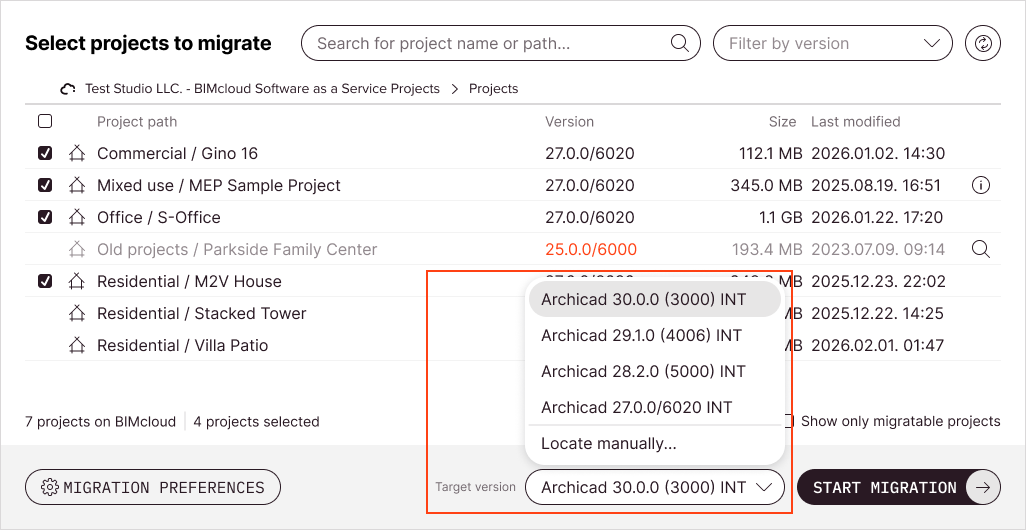
- Select the Teamwork projects to migrate.
- You can search or filter for relevant projects
- Projects in grey text cannot be migrated - hover to learn why
- Read more about project selection here: Select projects for migration
- Optionally, click Migration preferences to configure migration, such as how
to name your projects. (The default settings are appropriate for most cases.) Read
more about each setting here: Migration
preferences
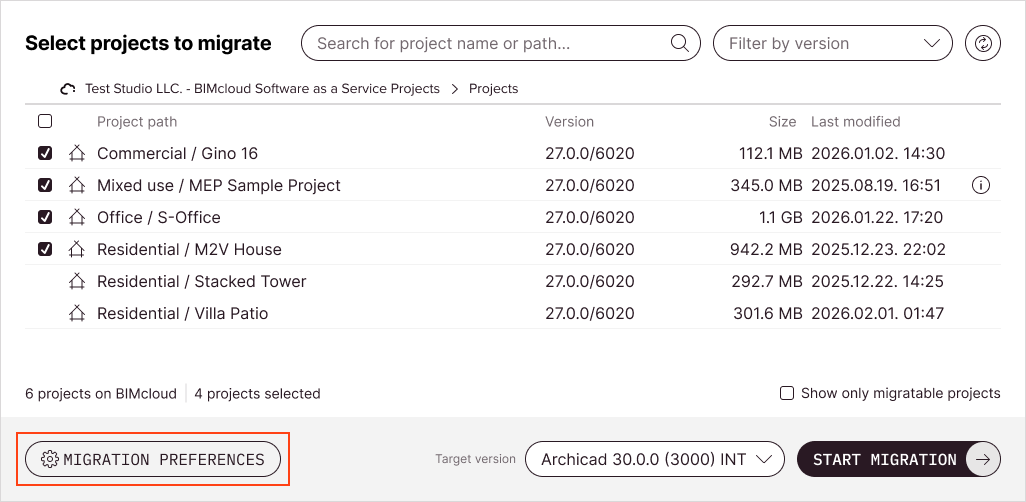
- Click Start migration.
- You may need to enter your BIMcloud password (this is required if you are using the Teamwork Multiproject Migration Tool for Archicad 29 or earlier projects)
- Wait while Teamwork projects migrate.
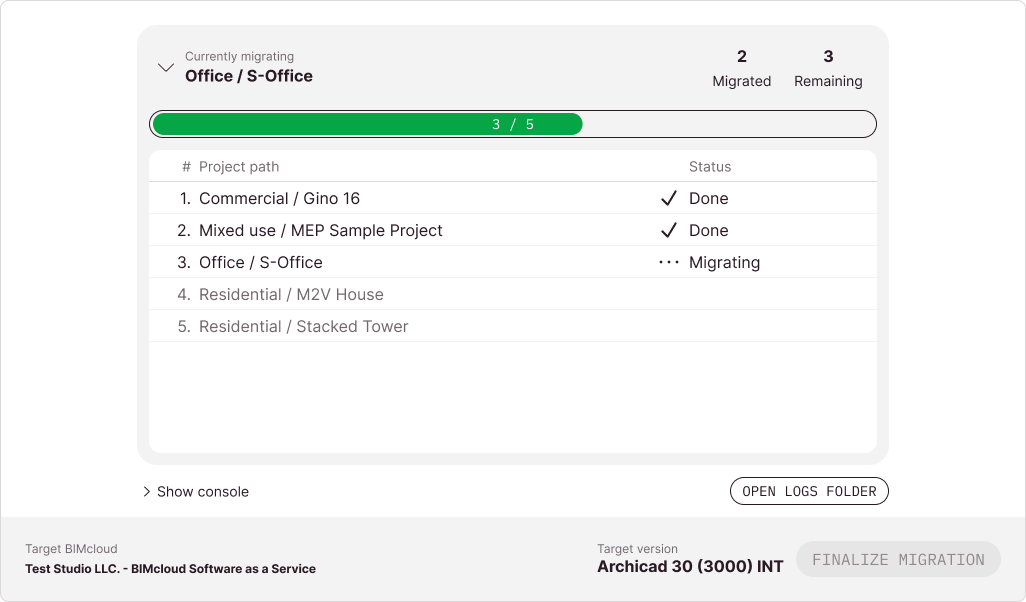
- During migration, Archicad instances open and close automatically
- View the migration queue in the Currently migrating section
- For more details, click Show console
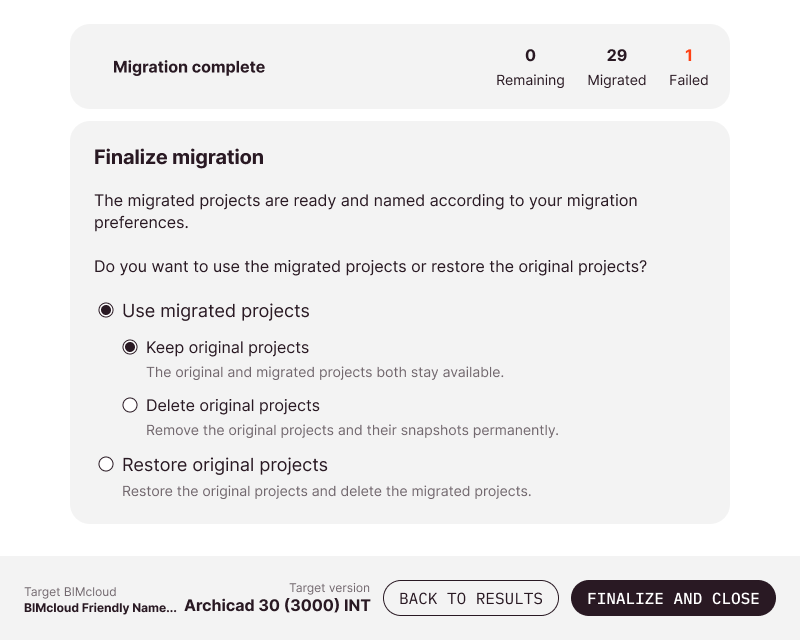
- After migration, review the results, then click Finalize migration.
- Choose Use migrated projects to proceed with the migrated projects, along
with Keep original projects to retain old project versions as backup in case
of issues.
Then click Finalize and Close.
Please check the Preparing for migration article to reduce migration failures.
Find more details in related articles: