Clean Installation
First-time installation of BIMcloud on this computer, using a wizard
- Download and start the BIMcloud installer for BIMcloud.
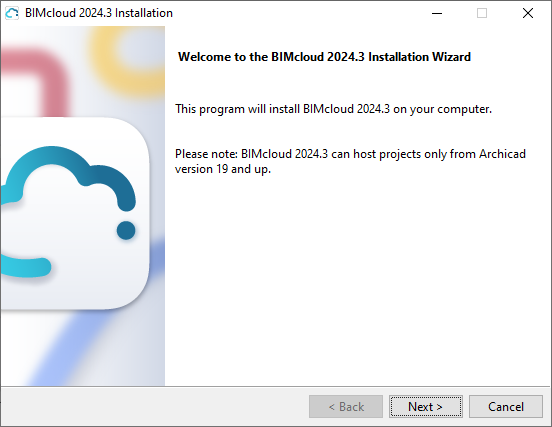
- The welcome page opens. Click Next.
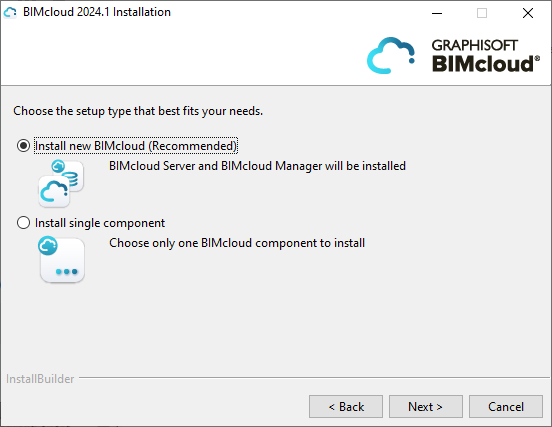
- Choose Install new BIMcloud. You will now install and configure
two components, one after the other:
- BIMcloud Server
- BIMcloud Manager
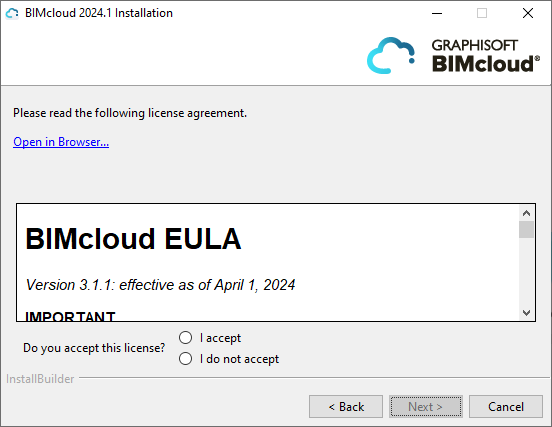
- Accept the license agreement. To see the full text, click Open
in Browser.
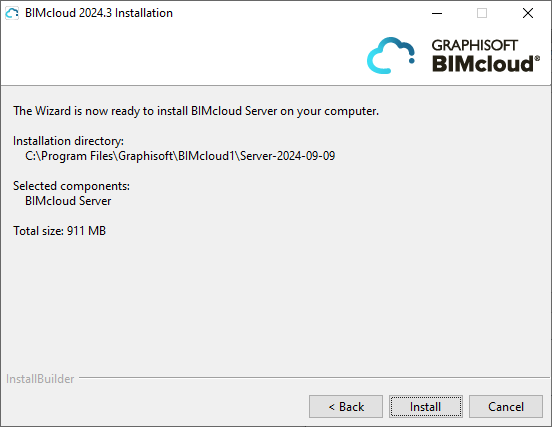
The wizard is now ready to install BIMcloud Server.
Install BIMcloud Server
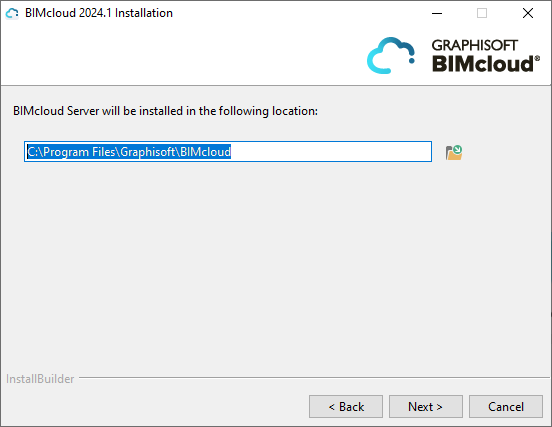
- Choose the installation location.
- For macOS users:
- Install to a location that is in or underneath the Applications folder.
- You must grant Full Disk Access for BIMcloud. The BIMcloud Full Disk Access Tool appears automatically to guide you through the steps.
See this Community site article for details.
- For macOS users:
- A summary panel shows you where BIMcloud Server will now be
installed. Click Install to start.
- When the installation is complete, the following panel appears:
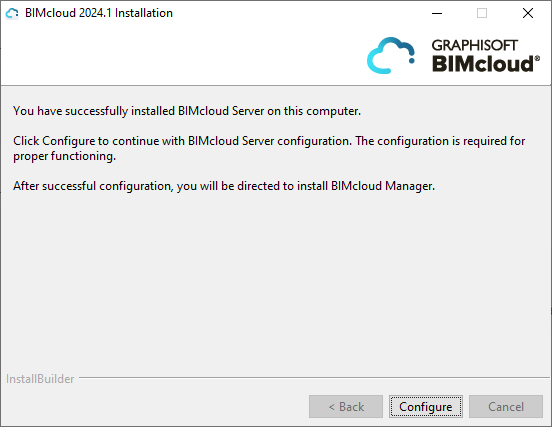
Click Configure. Follow the steps described here: Configure BIMcloud Server
- After configuring the BIMcloud Server, you are prompted to click Start, to launch the BIMcloud Server.
Next, you will install BIMcloud Manager.
Install BIMcloud Manager
- The Installer Welcome screen appears for the next process: Install BIMcloud Manager. Click Next.
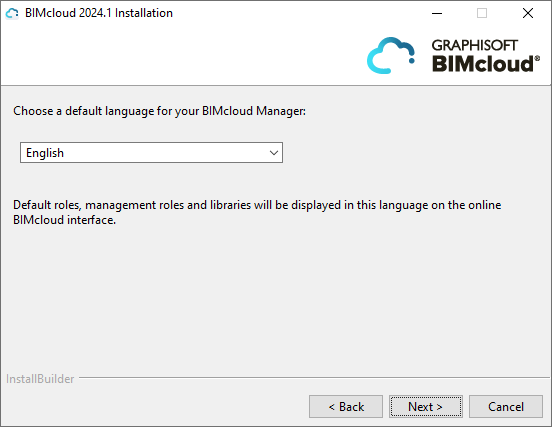
- Choose a default language. This is the language used by the
BIMcloud Manager’s browser-based interface. You can later switch
languages from BIMcloud Manager, if needed.
- Accept the license agreement. To see the full text, click Open in Browser.
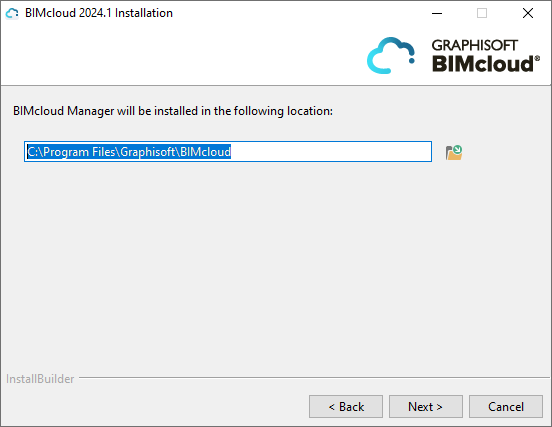
Choose the installation location for BIMcloud Manager.
 For macOS users:
- Install to a location that is in or underneath the Applications folder.
- You must grant Full Disk Access for BIMcloud. The BIMcloud Full Disk Access Tool appears automatically to guide you through the steps.
- A summary panel shows you where BIMcloud Manager will now be
installed. Click Install to start the process.
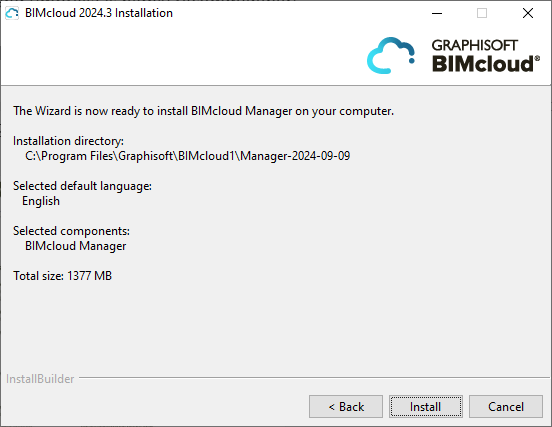
- When the installation is complete, the following panel appears:
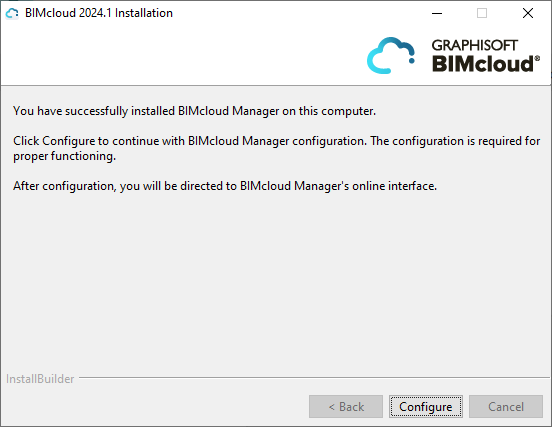
Click Configure. Follow the steps described here: Configure BIMcloud Manager
To finish setup, you must complete the next few steps in a browser (see next section):
Finish setup and launch BIMcloud
Your
browser window will open to show the next 5 steps needed to complete
BIMcloud setup. (If your browser does not open automatically, then
use the following URL: http://localhost:PORT, where
PORT is the port you entered on this Configuration page.)
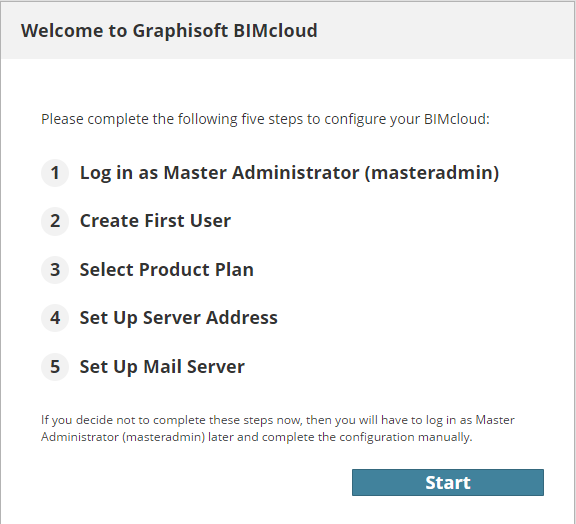
Click Start.
- Log in to the BIMcloud Manager as Master Administrator, using the Master Administrator password.
- Create First User: fill in all fields for the first user, who
will be the first Server Administrator on the BIMcloud Manager:

- Select Product Plan - the full BIMcloud, or BIMcloud Basic
- The full BIMcloud, with all features, requires a BIMcloud User License
- BIMcloud Basic requires no license, but has limited functionality
- For the difference, see BIMcloud vs. BIMcloud Basic: Feature Differences
- Regardless of the product you choose here, you can upgrade or
downgrade later.
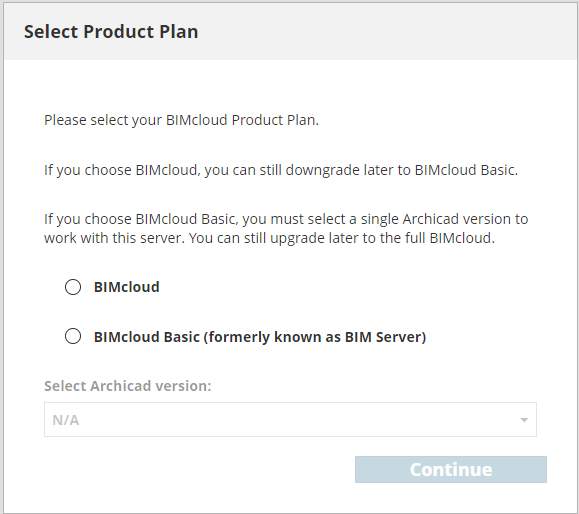
If you chose BIMcloud Basic: from the “Select Archicad version” dropdown, you must select a single Archicad version (AC 19 or later) to use. (BIMcloud Basic can support projects from only a single Archicad version.)
- Set up Server Address - this address will uniquely identify
your server, even if Archicad is using a different address to connect.
See details at Server Connections.
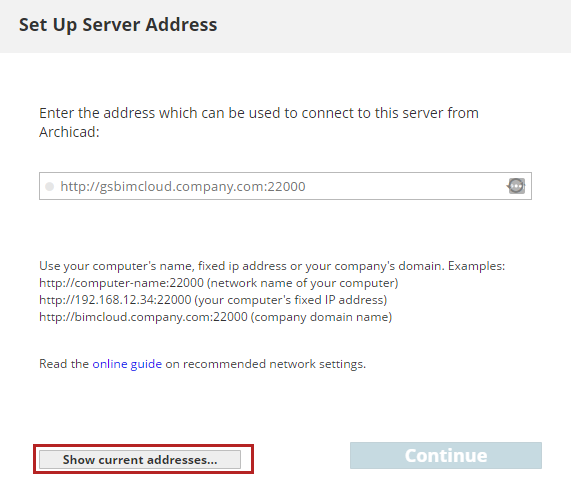
- To use one of the server’s current addresses, click Show current addresses and pick one
- You can change this address later, on the BIMcloud Manager’s Settings panel
- If you already set up the server’s address, you can enter it directly in the address field
- Keep in mind that if you use Dynamic IP Addresses at your office, then this address can easily change day by day. It is recommended to use a fixed IP address, a computer name, or a fully qualified domain name as the primary address.
- Set Up Mail Server (optional). Define the server that will send emails from the BIMcloud to the users. You can modify this address later if needed.
Click Continue.
If a BIMcloud Server is already installed on the computer, then the install process will automatically pair the new BIMcloud Manager with the existing BIMcloud Server.
If the computer does not have a BIMcloud Server installed, then you will have to manually pair the BIMcloud Manager and the BIMcloud Server.
See Pair BIMcloud Server.
BIMcloud Configuration Complete
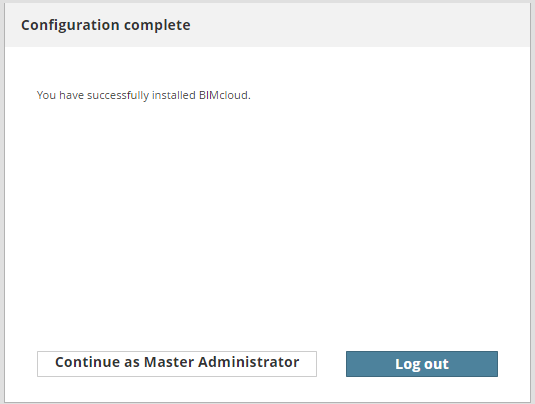
It is recommended to log out now as the Master Administrator, and then log in with the user you created in the Create First User step (above). It is not recommended to use the Master Administrator account for everyday tasks.